By: Edwin Sarmiento | Comments | Related: > Azure
Problem
Our organization is starting to deploy more virtual machines on Azure for both testing and DR environments. I would like to create and administer Azure virtual machines using Windows PowerShell. How do I get started?
Solution
If you have been using Windows PowerShell to manage your SQL Server databases and other products that have PowerShell modules support, you already have the skills to get started with using PowerShell on Azure (if you are new to Windows PowerShell, check out this tip to get started.)
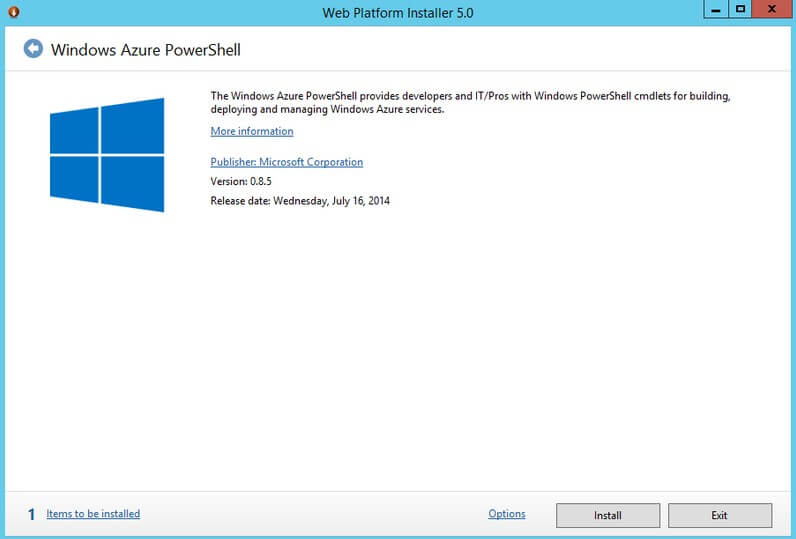
Similar to the other products that have PowerShell modules support, you need to have the PowerShell modules for Azure installed on your workstation to leverage the different Azure PowerShell cmdlets. You can download the Azure PowerShell modules from the Microsoft Azure Downloads Portal. You need to regularly check for updates to the Azure PowerShell modules as new features are added and bugs fixed on a regular basis. When you run the installer file, it will open up the Web Platform Installer 5.0. Click Install to proceed with installing the Azure PowerShell modules.
Once the Azure PowerShell modules have been installed on your workstation, you can now start writing scripts to connect to and manage your Azure subscription. This includes Azure SQL Database, Azure virtual machines, storage accounts, etc. Choose your favorite PowerShell scripting environment for writing scripts. I prefer using the PowerShell Integrated Scripting Environment (ISE) for this task since it comes with the Windows operating system from Windows 7 onwards.
Next, we need to configure connectivity and authentication between our workstation and Microsoft Azure. This can be done by running the Get-AzurePublishSettingsFile PowerShell cmdlet. This cmdlet will open your default browser and automatically downloads a .publishsettings file that contains information and a certificate for your Microsoft Azure subscription. If you are not signed in to your Microsoft Azure account, you will be prompted for your credentials.
PS C:\> Get-AzurePublishSettingsFile
Alternatively, you can visit this link which will redirect you to the same page to download the .publishsettings file. The .publishsettings file contains credentials that are used to administer your Microsoft Azure subscriptions and services. You can set this file as your credential whenever you manage Microsoft Azure. If you have multiple Microsoft Azure accounts, working with the right credential makes sure that you can perform certain tasks. Some accounts might be used for testing purposes while others used for production work. Remember to note the filename and path of the .publishsettings file after downloading as you will refer to it whenever you need to use the right account. We can, then, import it in our existing PowerShell session using the Import-AzurePublishSettingsFile cmdlet. In my case, I saved the file on my C:\ drive with the filename EdwinSarmiento.publishsettings
PS C:\> Import-AzurePublishSettingsFile –PublishSettingsFile C:\EdwinSarmiento.publishsettings
Keep this file in a secure place and delete it after use. Remember, anybody who has access to this file can get access to your Microsoft Azure account. Once the .publishsettings file has been imported in our PowerShell session, we can start working with our Azure subscription and services using the available cmdlets. Let's start with exploring our account. You can use the Get-AzureSubscription cmdlet to review the Azure subscription attached to the .publishsettings file that you imported.
PS C:\> Get-AzureSubscription
To further explore the different Azure PowerShell cmdlets, let's take a look at this tip for reference. Let's say that you want to backup your SQL Server databases to Windows Azure Blob Storage. Before you can do so, you need to have an Azure storage account. We can check if we have an existing storage account using the Get-AzureStorageAccount cmdlet.
PS C:\> Get-AzureStorageAccount
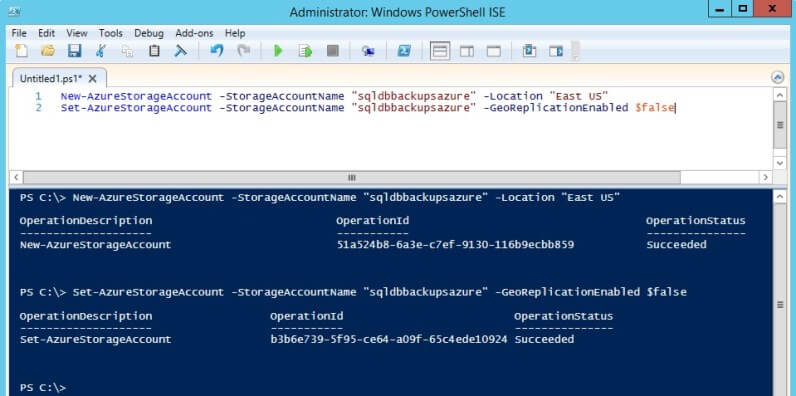
This cmdlet will not return anything if you don't have any storage account. Let's use the New-AzureStorageAccount cmdlet to create a new storage account. We'll specify the name of the storage account as sqldbbackupsazure and location as East US. If you want to learn more about the different Azure data center location values that you can use with your storage account (and, potentially, your virtual machines,) you can use the Get-AzureLocation cmdlet.
PS C:\> New-AzureStorageAccount -StorageAccountName "sqldbbackupsazure" -Location "East US"
By default, this enables geo-replication on the storage account so we will need to explicitly have it disabled if we don't want that feature. We can use the Set-AzureStorageAccount cmdlet for this purpose, setting the -GeoReplicationEnabled property to $false.
PPS C:\> Set-AzureStorageAccount -StorageAccountName "sqldbbackupsazure" -GeoReplicationEnabled $false
Now that we have a storage account, we can retrieve the access keys that we can use for taking backups using the Get-AzureStorageKey cmdlet.
PPS C:\> Get-AzureStorageKey "sqldbbackupsazure"
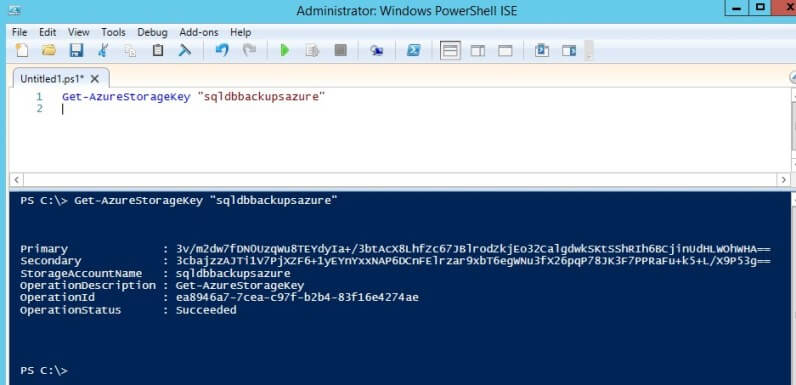
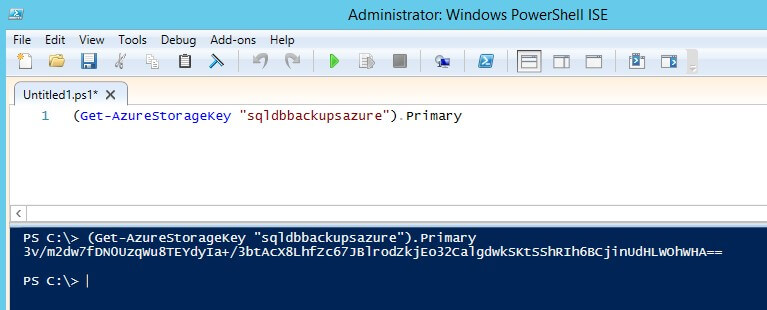
Since we only need one key to access the storage account, we can either use the Primary or Secondary properties returned by the cmdlet.
PPS C:\> (Get-AzureStorageKey "sqldbbackupsazure").Primary
We've barely scratched the surface of using the Azure PowerShell modules to start working with our Azure subscription. In future tips, we will look at creating and administering virtual machines with SQL Server installed running on Microsoft Azure.
Next Steps
Check out the following items:


About the author
 Edwin M Sarmiento is a Microsoft SQL Server MVP and Microsoft Certified Master from Ottawa, Canada specializing in high availability, disaster recovery and system infrastructures.
This author pledges the content of this article is based on professional experience and not AI generated.
View all my tips