By: Siddharth Mehta | Updated: 2011-01-26 | Comments | Related: > SharePoint
Problem
Business processing forms are created using InfoPath 2007. In several scenarios, these forms are needed to perform different actions depending upon the user accessing the form. Defining SharePoint groups for each business processing form can be quite challenging or perhaps not even feasible.
Solution
To overcome the above mentioned problem, one of the approaches to use User Roles in InfoPath 2007. User roles allow you to categorize users into one or more groups, either based on data in the form template or on Active Directory. Each "User Role" might see a different "view" within the InfoPath form. User roles can even be used to apply a basic workflow to the InfoPath form by combining it with rules.
In this tip, we would see how to to create different roles in InfoPath with different users and how to change the views depending upon the roles.
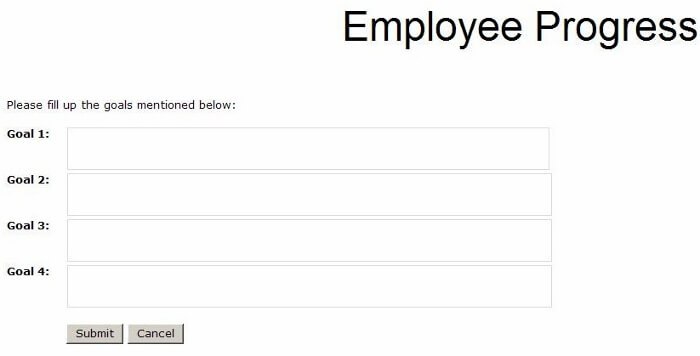
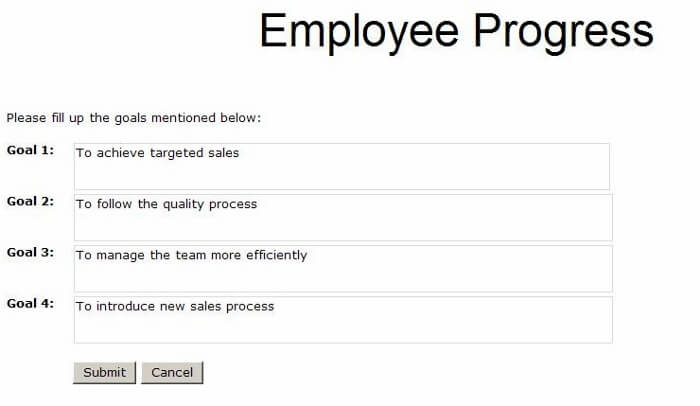
For our scenario, we have created a simple form which has two different views. One is an Employee view which contains basic goal information and other is a Manager View which contains both employee goals as well as review comments.

We would define two different user role categories - "Employee" and "Manager". To define a user role, go to Tools-> User Roles
Click on Add. A box will appear asking for the role information. Provide a meaningful role name which, in our case, is "Employee". Three options will appear to choose an appropriate identity for the role. These could be specific users, groups or a user name from a different data source. In our case, we have selected specific users to target for the role.
Click OK and repeat the same steps for adding another role of "Manager". After adding both roles successfully, we see a set of roles display:
The next step is to define the logic of switching the views depending upon the roles. For that go to Tools -> Form Options. We will switch the appropriate view depending upon the role whenever the form is opened. To do so, make sure "Open and Save" is selected. Then click on Rules and click on Add. A rule box will appear. Click on Set Condition. On the first field, select "User's current role" which is a field to compare. In the operator field choose "is equal to" and in third box which is of value comparison, choose "Manager" and click OK.
Next Click on Action and select switch view to "Manager" and click OK.
In order to test the logic, you need to preview the form using the different roles. Click Tools -> Form Options -> Preview category. Select either "Employee" or "Manager" from the Preview as drop-down list box, then click OK. For our case, we will first choose Employee.
Click Prevew.

Now change the "Employee" to "Manager" and click on Preview.
Next Steps
- Use user roles to create different local group/roles at the form level without creating temporary groups at the site level.
- Use user roles with rules to implement a very basic sequential workflow inside the form.
About the author
 Siddharth Mehta is an Associate Manager with Accenture in the Avanade Division focusing on Business Intelligence.
This author pledges the content of this article is based on professional experience and not AI generated.
View all my tips
Article Last Updated: 2011-01-26


