By: Manoj V | Updated: 2011-03-29 | Comments | Related: > SharePoint Administration
Problem
While configuring SharePoint 2010 using the GUI, the Central Administration (CA) content database name will have a GUID in it (long 36 character alphanumeric string). This is not a real problem but it looks annoying. Moreover a custom name would make it easy to remember if there are multiple CA databases in a SQL Server.
Solution
To solve this we need to do a scripted configuration. If we run the PS configuration Wizard after installing binaries it will create a CA content database with a GUID. However, if we create a CA content database using PowerShell we can have the database name of our choice.
The inspiration for this article came from the technet article Deploy by using DBA-created databases which talks about some cool PowerShell commands for creating and configuring configuration databases.
Here are the steps to achieve this:
1. Run Setup on each server computer in the farm. You must run Setup on at least one of these computers by using the complete installation option.
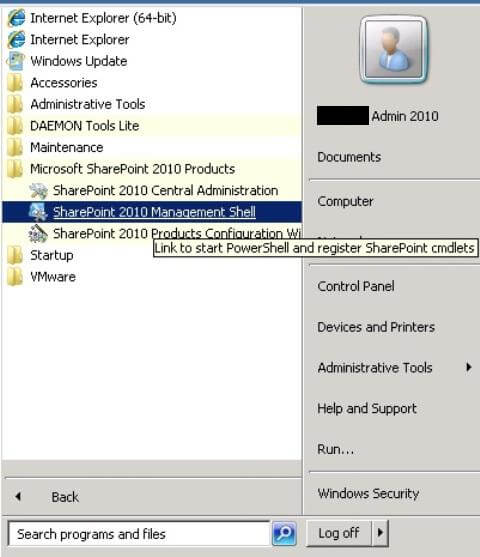
2. Do not run the SharePoint Configuration Wizard after setup finishes. Instead, cancel it. Open the SharePoint Management Shell.

3. From the SharePoint 2010 Management Shell, use the New-SPConfigurationDatabase command to create a new configuration database, for example:
New-SPConfigurationDatabase -DatabaseName "SharePoint_Config" -DatabaseServer
"SQL_DB" -Passphrase (ConvertTo-SecureString "MyPassword" -AsPlainText -force)
-FarmCredentials (Get-Credential) -AdministrationContentDatabaseName "SharePoint_Admin_Content"
The cmdlet above creates a config database named "SharePoint_Config" and also creates the Central Admin content database and names it "SharePoint_Admin_Content". Values in quotes in the above command can be customized.
4. Run the following commands in order, the comments touch up on what the commands do:
#install help collections
Install-SPHelpCollection -All

#Secure resources
Initialize-SPResourceSecurity

#Install Services
Install-SPService

#Install Features
Install-SPFeature -AllExistingFeatures

#Provision Central Administration on port 2010
New-SPCentralAdministration -Port 2010 -WindowsAuthProvider "NTLM"

#Install Application content
Install-SPApplicationContent
This finishes the setup and provisions the Central Administration website on port 2010.
Next Steps
- Review the following links.
About the author
 Manoj V
This author pledges the content of this article is based on professional experience and not AI generated.
View all my tips
Article Last Updated: 2011-03-29


