By: Siddharth Mehta | Updated: 2017-07-28 | Comments (4) | Related: > Power BI
Problem
Microsoft recently announced the availability of Power BI Premium. The Power BI Report Server is part of the Power BI Premium offering which enables building distributed hybrid BI systems that include cloud and on-premises mixed deployment. With the ability to pin visuals from reports on Power BI Report Server into the Power BI cloud service, you can now create dashboards that span both cloud and on-premises reports. With Power BI Report Server, we have full flexibility to decide what portions of the data and reports we want to keep on-premises and what portions should reside in the cloud. This allows an organization to keep sensitive data and reports fully behind a corporate firewall, creating a hybrid deployment mixing cloud and on-premises. In this tip we will learn how to install and configure Power BI Report Server on premises as well as Power BI Desktop.
Solution
As a first step towards installing and configuring Power BI Report Server, first we need to download it. You need not have a license and there is a free trial available here.
After installing the setup, start the setup and you should be presented with a screen as shown below.
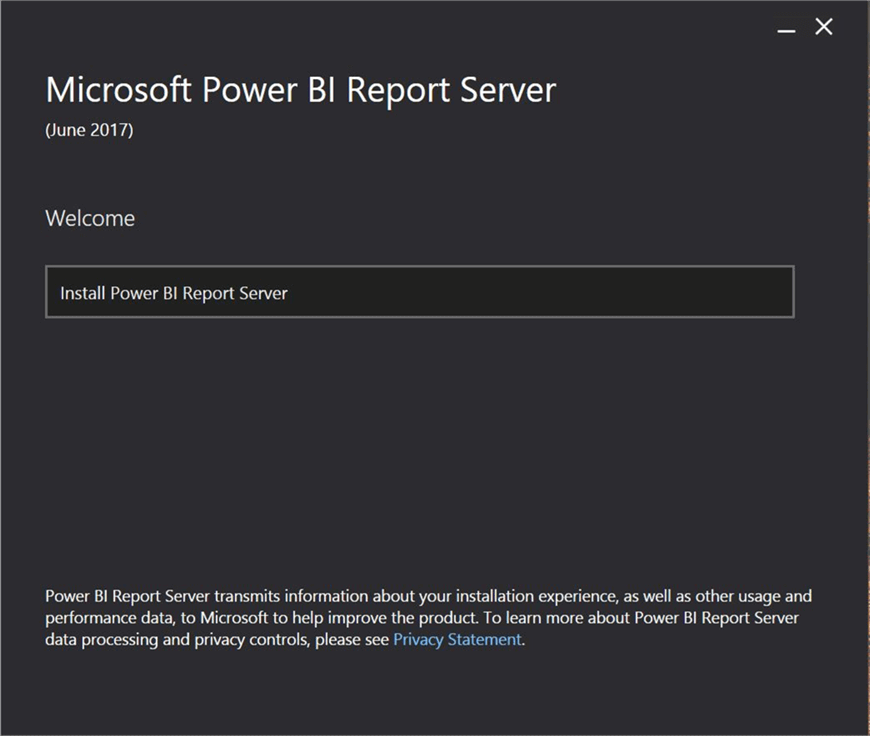
Click on the Install Power BI Report Server button which should take you to the next screen as shown below.
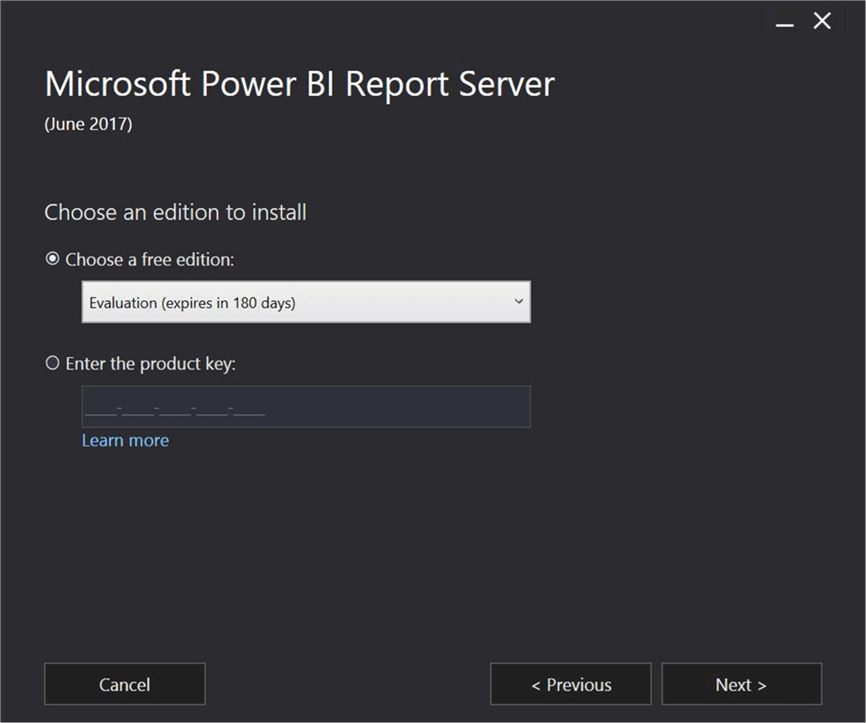
If you already have the Power BI Premium license, then you can enter the license. If not, you can just select the evaluation as shown above. This evaluation will allow you to use the Power BI Report Server for a period of 180 days from the date of installation. Select the appropriate option and click Next.
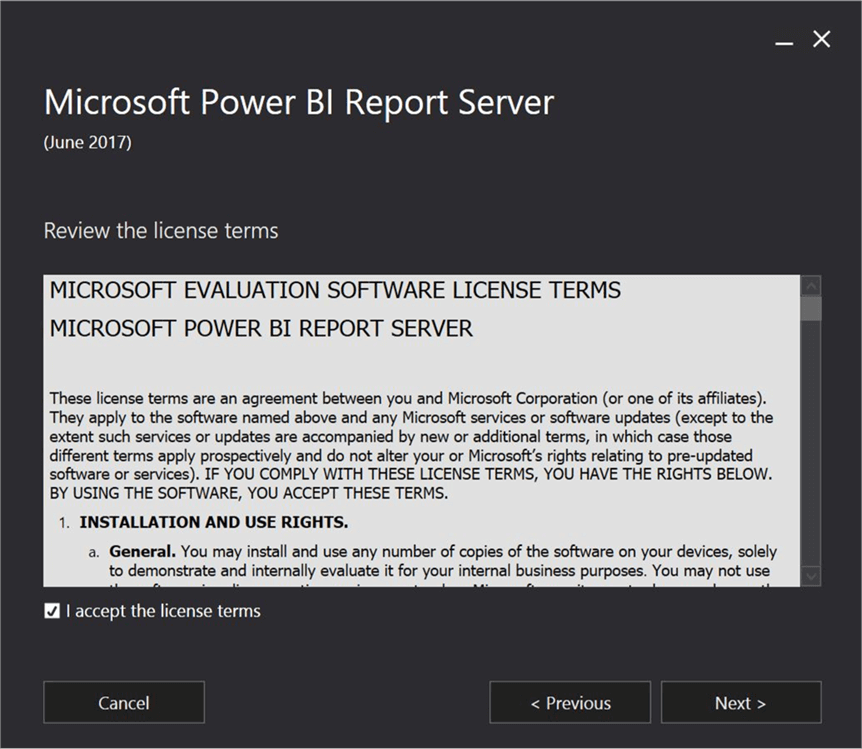
Read and Accept the license terms and click Next.
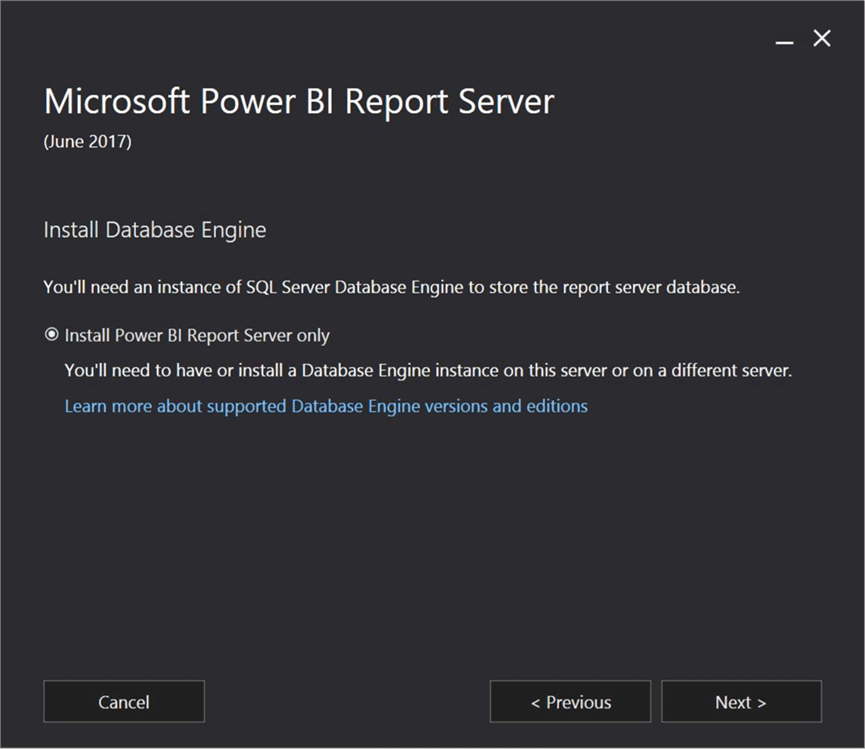
Power BI Report Server installation requires a database engine instance to install and create internal databases required for the Power BI Report Server to function. In case if you do not have a database instance, you can choose to install the Database Engine. In my case, I already have the database engine installed, so we will select Install Power BI Report Server only and click Next.
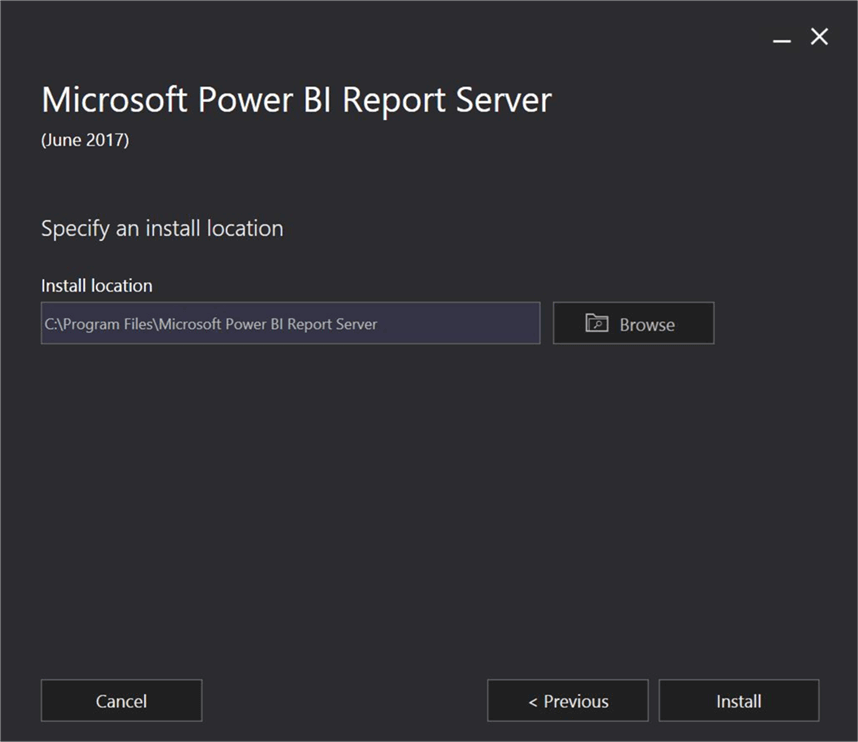
You will be asked to specify an install location. By default, it is installed in the Microsoft Power BI Report Server directory. Finalize the installation directory and click Install.
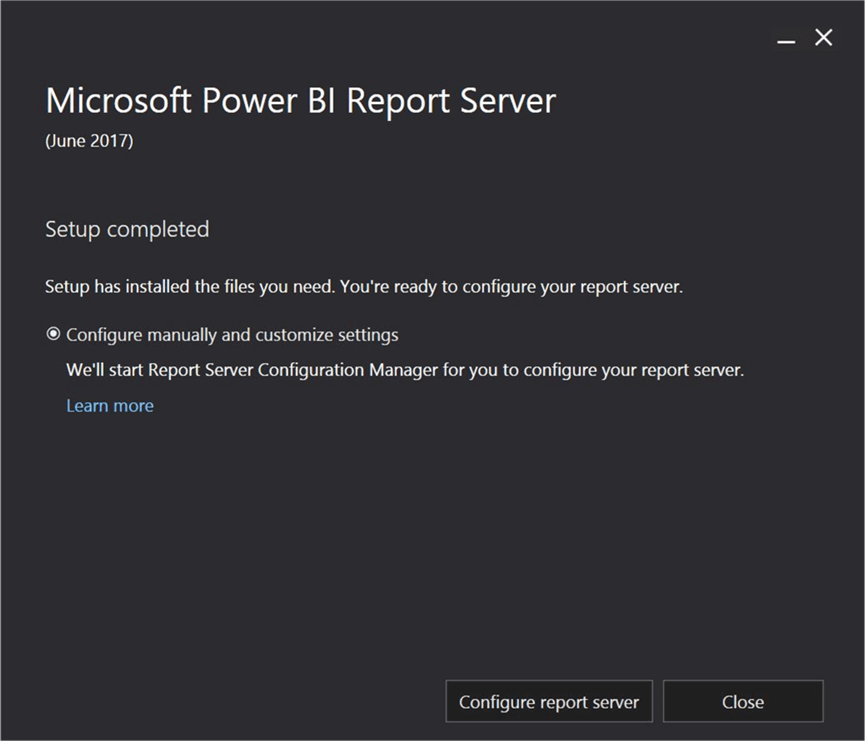
After the setup installation is complete, you will find a screen as shown above with a confirmation of setup completion. Now you will be prompted to configure the report server. Click on Configure report server button, which would open up a screen as shown below.
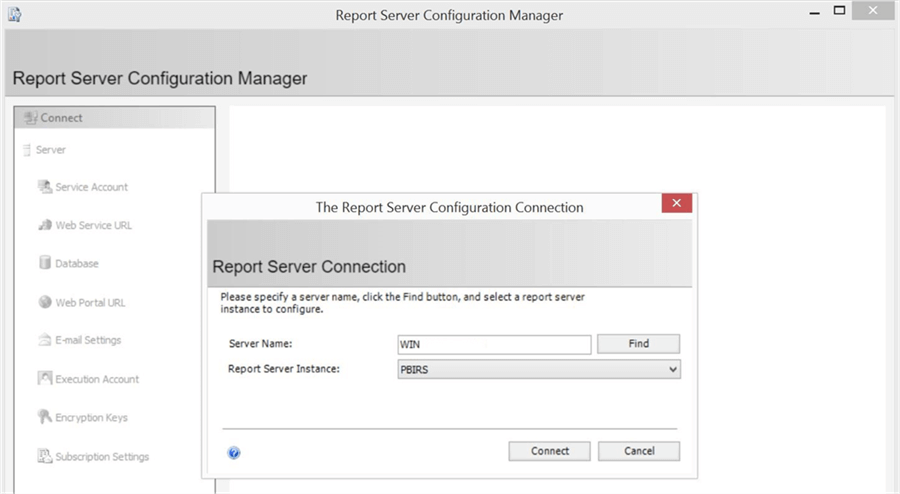
This dialog box prompts to connect to the report server. By default, the Power BI Report Server instance would be named as its abbreviation – PBIRS. Click on the Connect button to connect to the same.
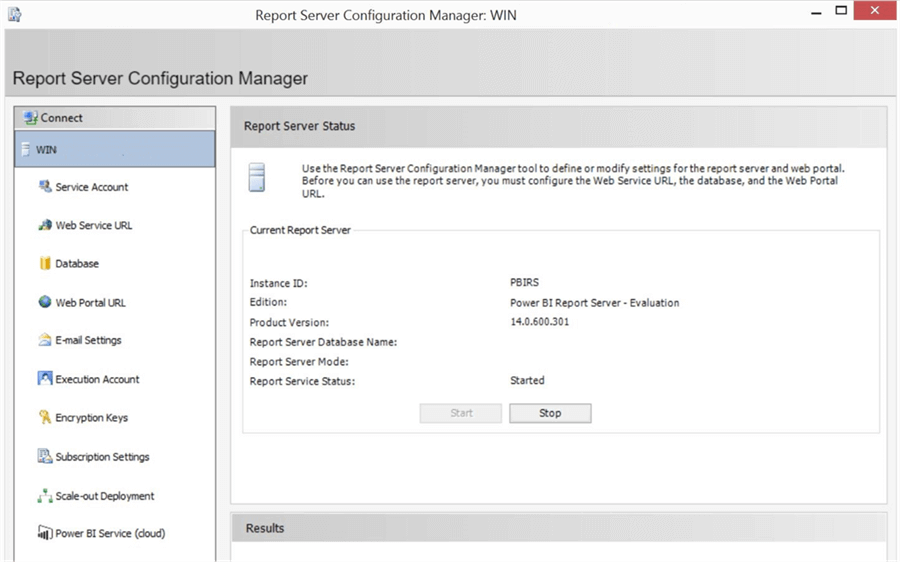
Once you are connected, you should be able to find the edition of the Power BI Report Server as shown above. We are now connected to Power BI Report Server, but it is not yet configured. The configuration process is exactly the same as that of SSRS Server. As the first step of configuration, we need to configure the web service URL as shown below.
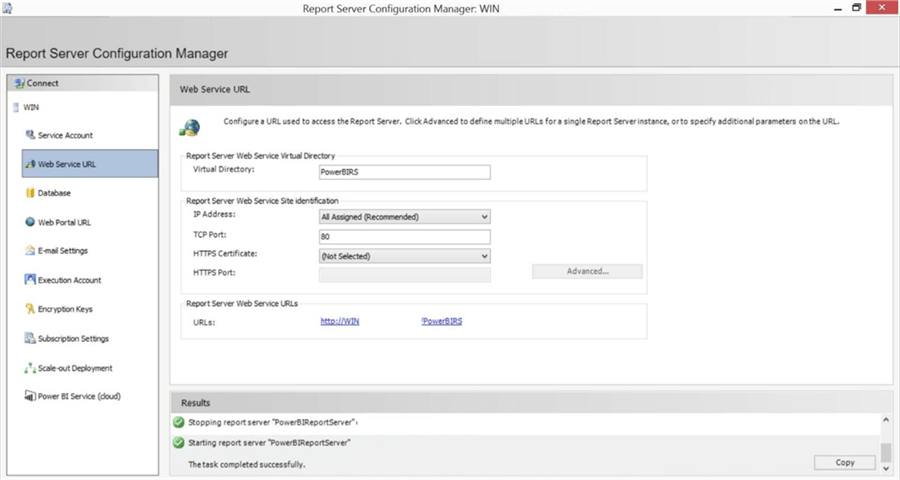
After the URL is configured, the next step is to configure the database connectivity, so that internal databases of Power BI Report server can be installed as well as configured.
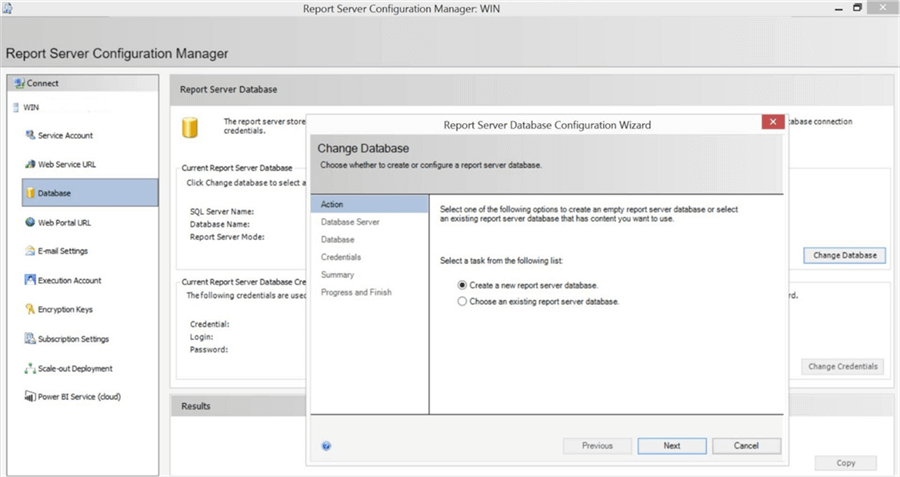
Select the new report server database option as shown above and proceed to the next step.
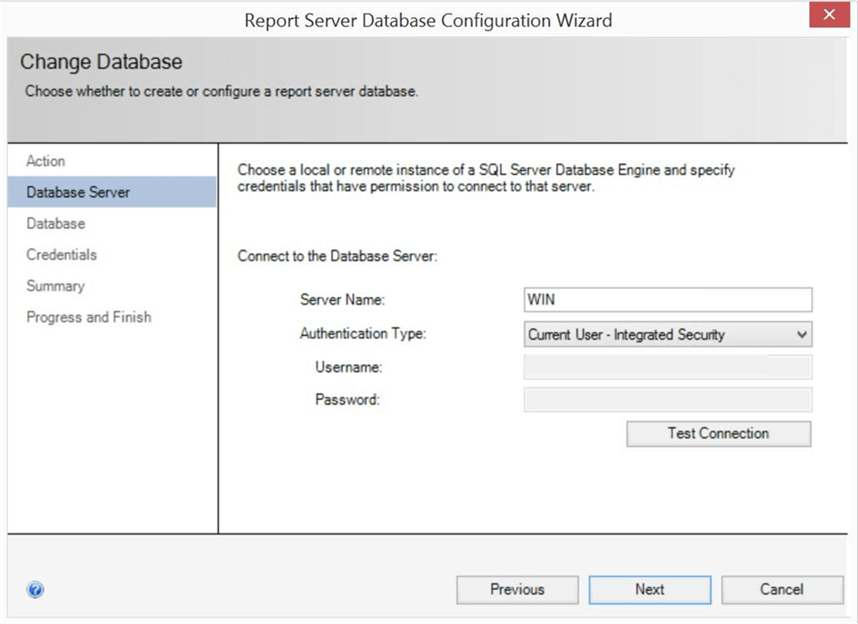
Provide the credentials to connect to the database server as shown above.
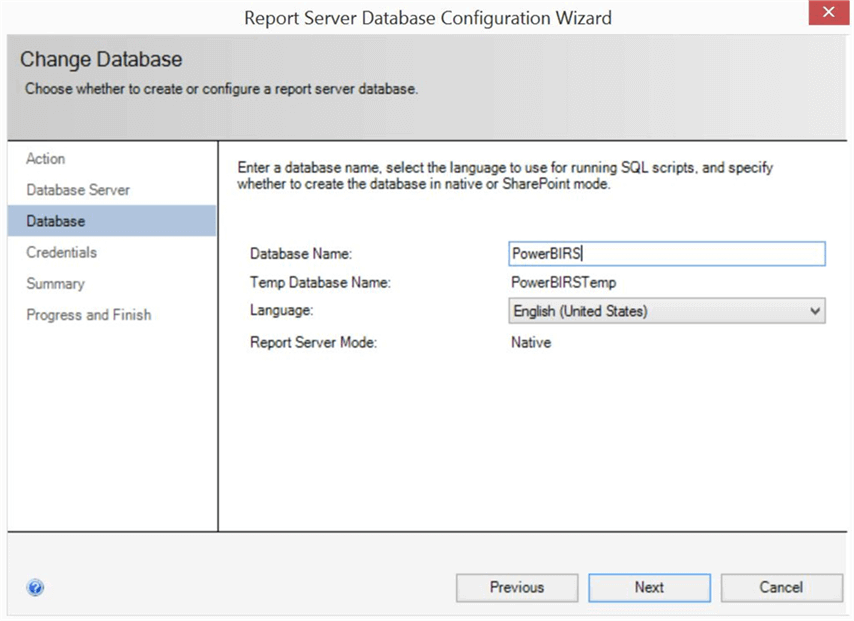
In order to avoid confusion whether it is a SSRS Server or Power BI Report Server, I am assigning the database name as PowerBIRS instead of Report Server.
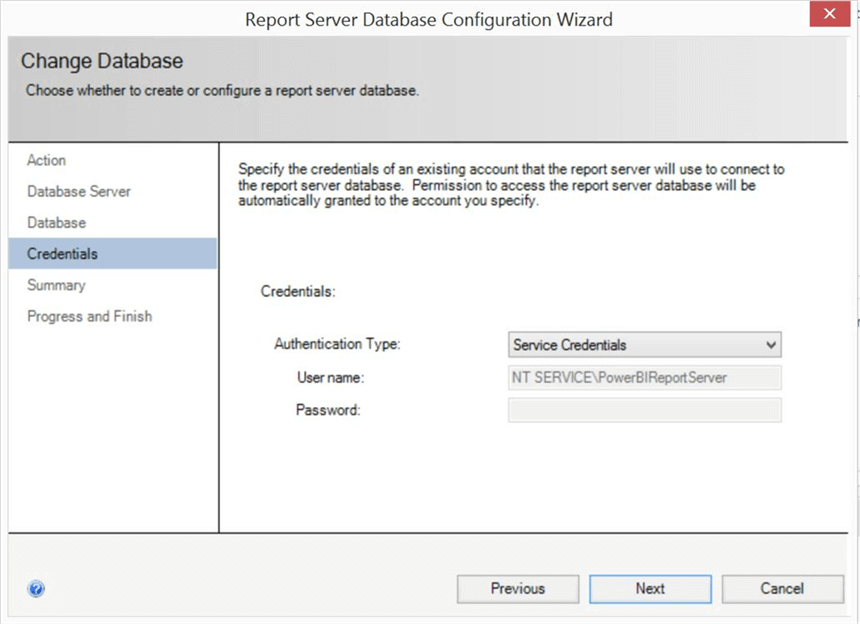
Provide the appropriate service credentials for the report server service to connect to internal databases.
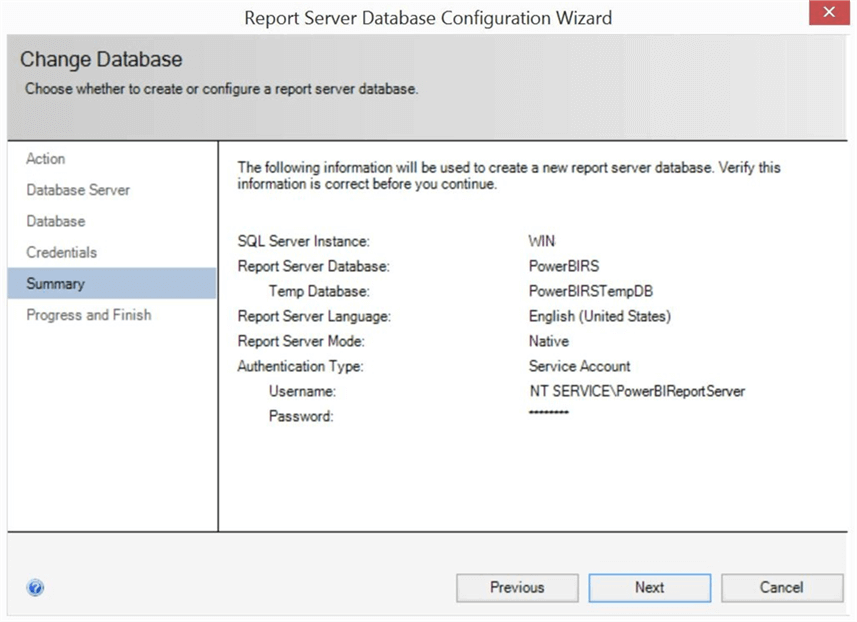
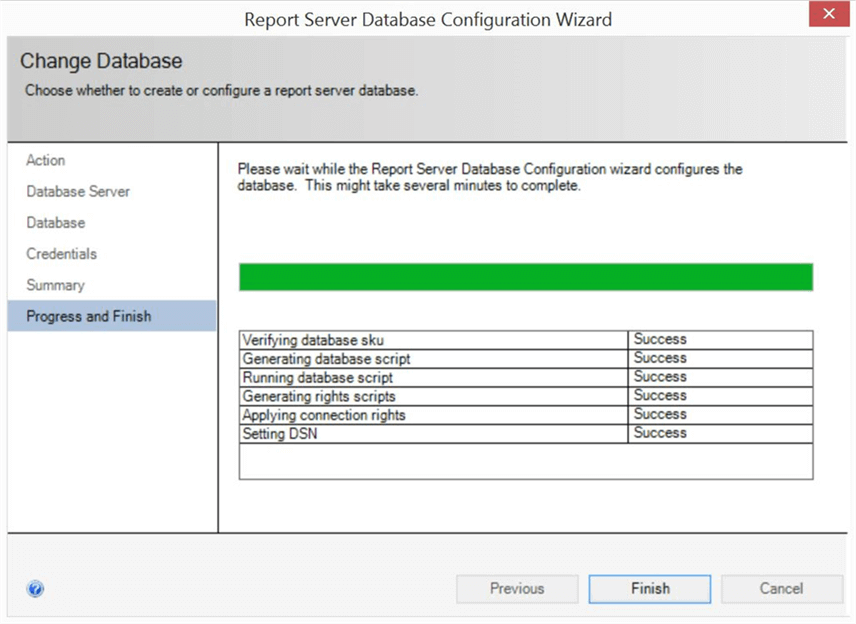
You should be able to find a summary as shown above. Once the databases are installed and configured, you should be able to find a confirmation screen as shown below.
Now the final step in configuration is setting up the web portal URL. Just click on Apply and it will setup the web portal as shown below.
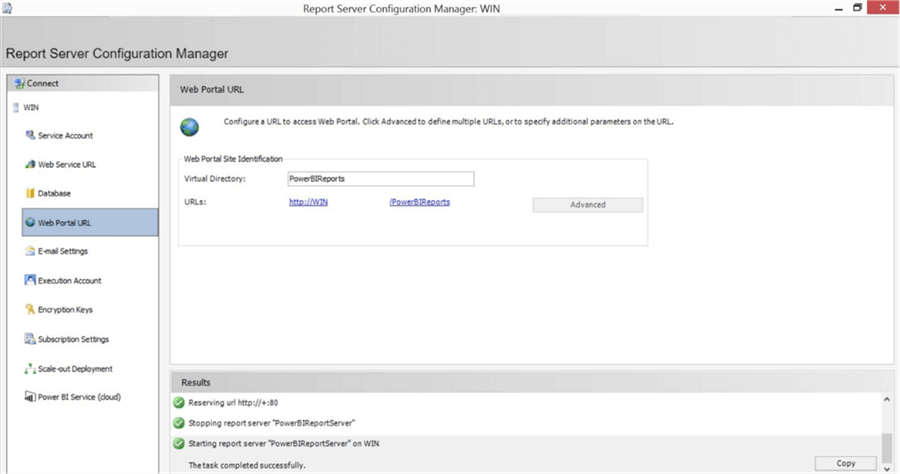
Open the Power BI Report Server web portal, using the URL that you set it the above screen. You should be able to find the Power BI Report Server portal as shown below with the Power BI Logo on the top left. Now it’s time to create a Power BI Report, but for this you need to have Power BI Desktop installed on your development machine, in case you do not have a Power BI subscription on Azure. Just click on New Power BI Report from the portal and it will prompt you with a message to install the Power BI Desktop as shown below.

Click on the Get Power BI Desktop and it should take you to the download URL where you can download an appropriate installation setup.
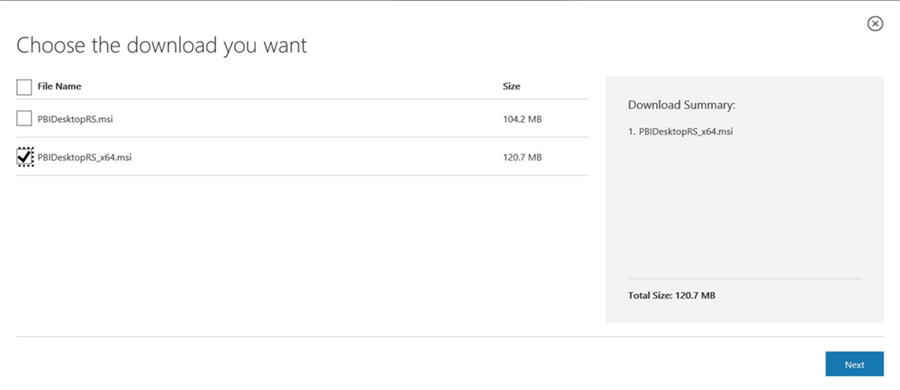
Select the appropriate version of the setup based on the whether you are using a 32-bit or 64-bit machine / OS and download. Once downloaded, execute the setup and you should be able to see a screen as shown below. This Power BI Desktop for June 2017 is optimized for use with Power BI Report Server. You can read about this in the welcome screen of the setup.
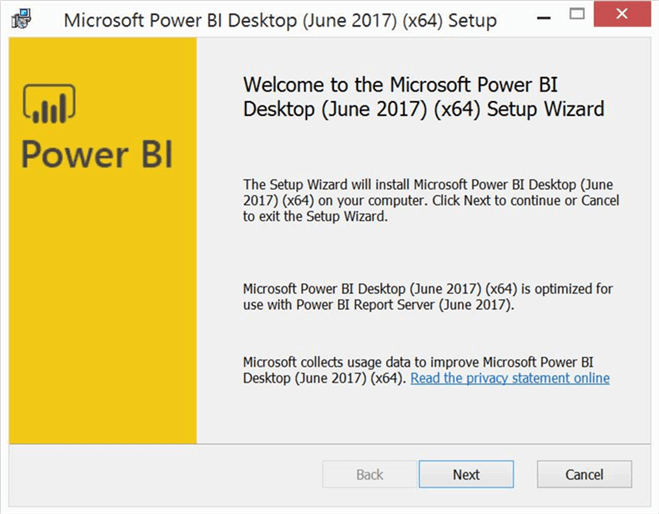
Click Next on the welcome screen and you will be presented with License Terms as shown below.
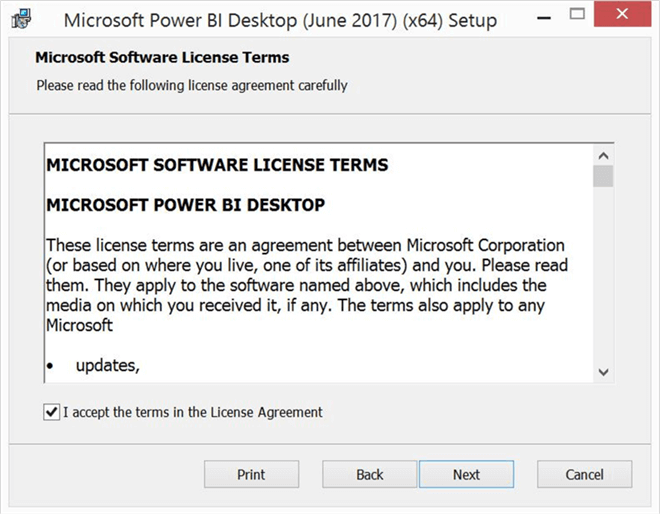
Read and accept the license terms and click Next.
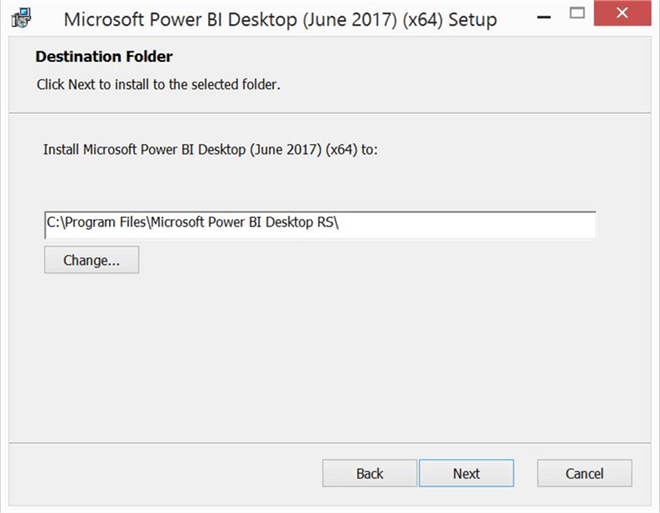
Select the installation location as shown above and click Next. By default, the setup is installed in Microsoft Power BI Desktop RS directory.
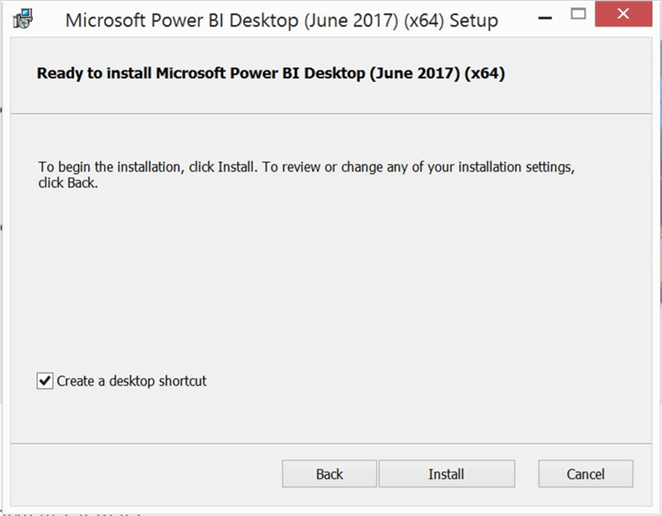
Now we are at the final page of the wizard to start the installation. Click on Install and this will install the Power BI Desktop on your machine. Once the installation is complete, you should be able to find a confirmation screen as shown below.
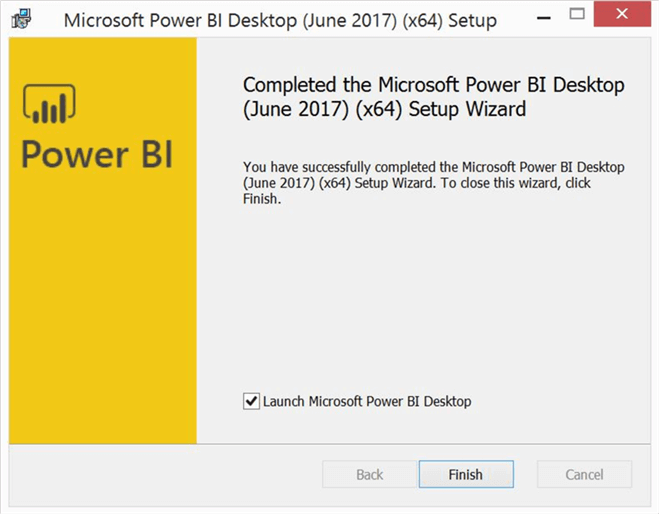
Click on the Finish button and this will open the Power BI Desktop to author Power BI Reports, which can be hosted on the Power BI Report Server on-premises as well as on Azure.
Next Steps
- Try creating hybrid dashboards which contain data and/or reports from Power BI on Azure as well as Power BI Report Server on-premises to evaluate the transition strategy of migrating on-premises reports to Azure.
- Check out the PowerBI tips.
- Check out the Reporting Services tutorial.
Learn more about Power BI in this 3 hour training course.
About the author
 Siddharth Mehta is an Associate Manager with Accenture in the Avanade Division focusing on Business Intelligence.
This author pledges the content of this article is based on professional experience and not AI generated.
View all my tips
Article Last Updated: 2017-07-28


