By: Alejandro Cobar | Updated: 2018-10-31 | Comments (5) | Related: 1 | 2 | 3 | 4 | 5 | 6 | > Locking and Blocking
Problem
The time might come when a customer reports the famous "database slowness issue" with the application and your first course of action is to check queries that are currently executing in SQL Server. After a quick glimpse (using your favorite method), you might be able to see queries waiting for others to complete and immediately the word "locks" pops in your head.
Currently there are multiple ways to capture the queries that cause blocking, such as:
- Extended Events: considered as "the best way" by the SQL Server purists, but you simply might not like them or haven’t had time to experiment with them. Nevertheless, this tip is intended to show you how simple it is to collect and visualize the information.
- Profiler: a very popular way to go, but it is starting to be considered as an old outdated method.
- sp_who2: the "BlkBy" column can tell you which query is causing the issue in your particular scenario.
- sp_whoisactive: the famous and very useful stored procedure developed by Adam Machanic. With this one you can find the information in a similar way as with sp_who2, but with the advantage is you can even fetch the execution plan for the queries.
Solution
The usage of Extended Events gives you a powerful way to capture a ton of information from your system. In this tip we are going to take a quick look at how to configure an event to capture lock information and generate a report based on that information.
I’m going to make the demonstration using SQL Server Management Studio (SSMS), but it can be perfectly done through T-SQL as well. In the very end I’ll quickly show you how to do this with T-SQL.
Steps to Configure Extended Events for Acquired Locks
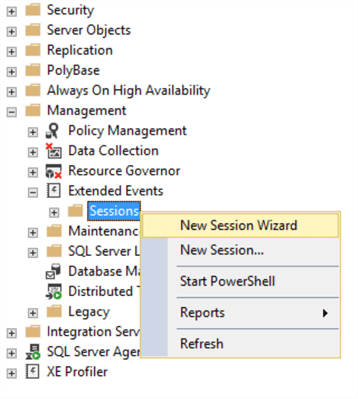
In SSMS, expand the "Management" section, expand "Extended Events" and right click on the "Sessions" and select "New Session Wizard".
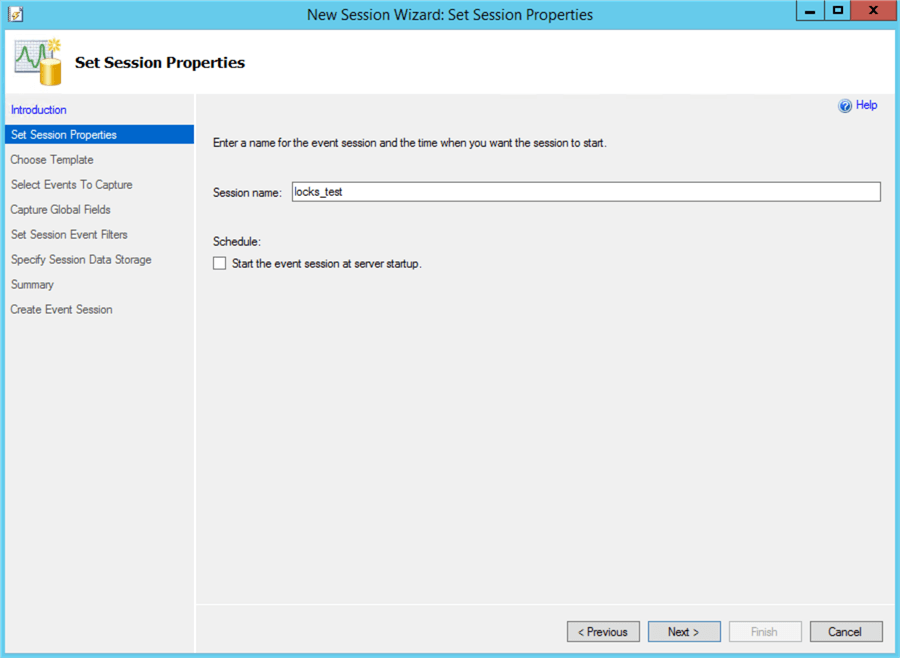
Enter a name you would like for your particular session (it can be whatever you want, but anything descriptive is always very helpful). You can choose to start the session at server startup (it is completely up to you).
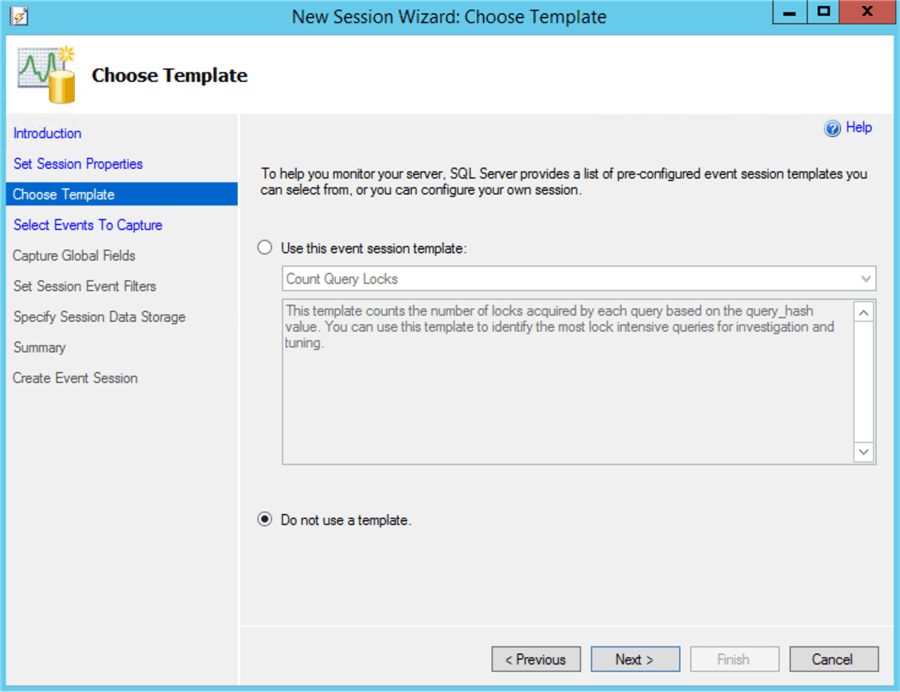
In this section we are not going to select a template.
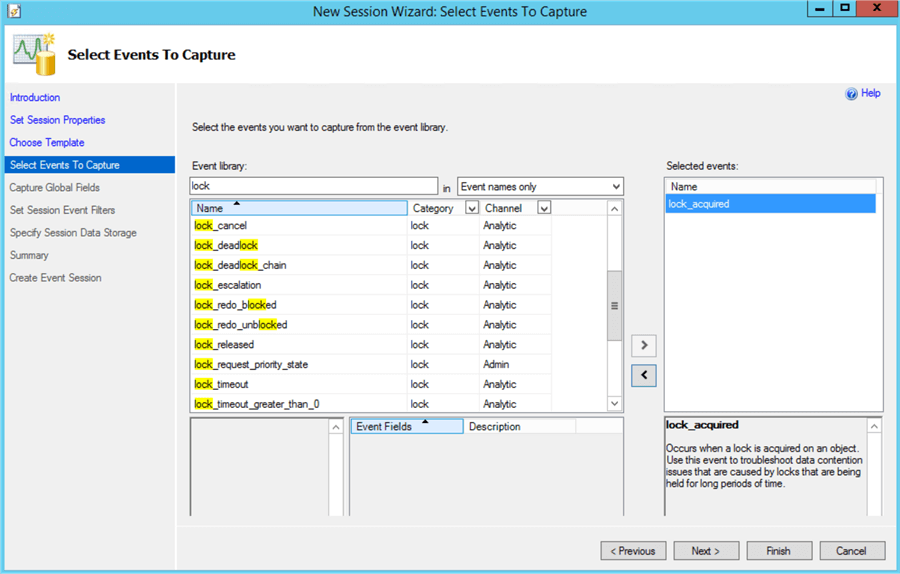
While you are typing the event you are interested in, a set of matches is presented to you for selection. As you can see, by typing "lock", a set of lock event classes are shown to you. For this tip, we will focus only on the "lock_acquired" event.
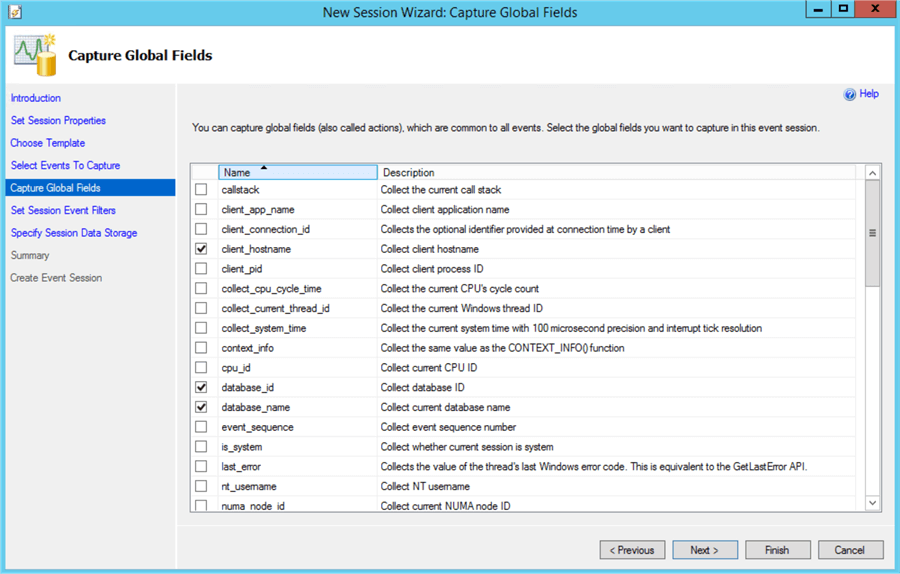
In this section we are going to select some fields, for demonstration purposes only (you can pick any you find convenient for your particular case).
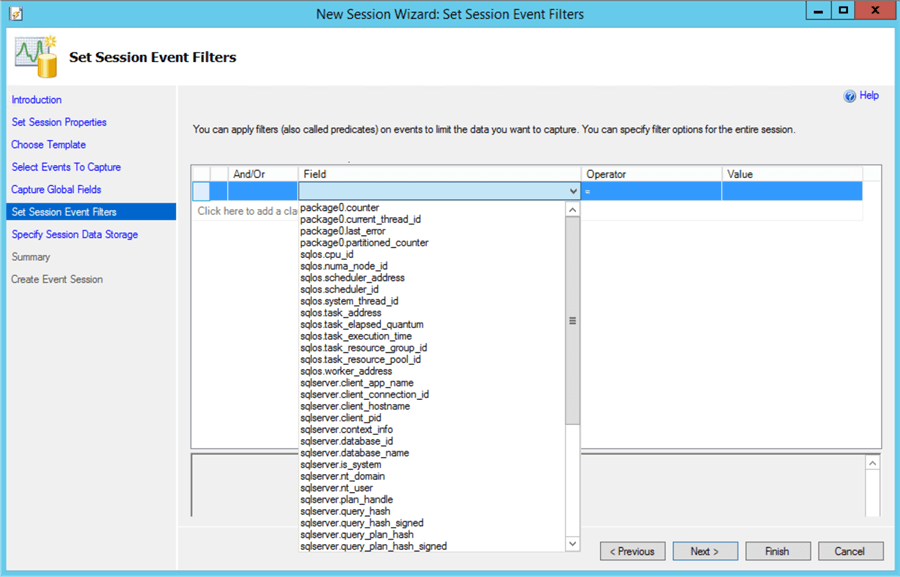
From the values you picked in the previous step, you can add any particular filter you might want to apply for your session.
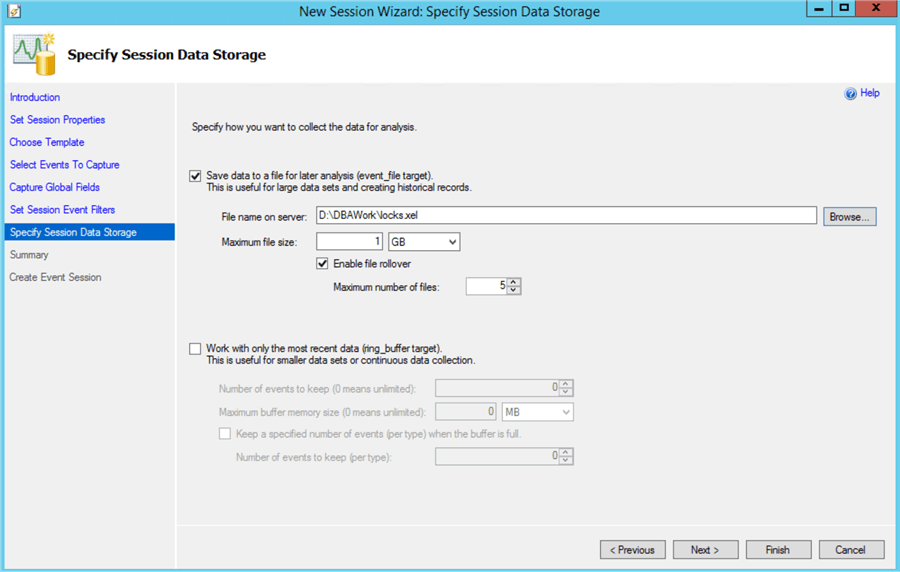
In this section, you can specify where to save the collected data.
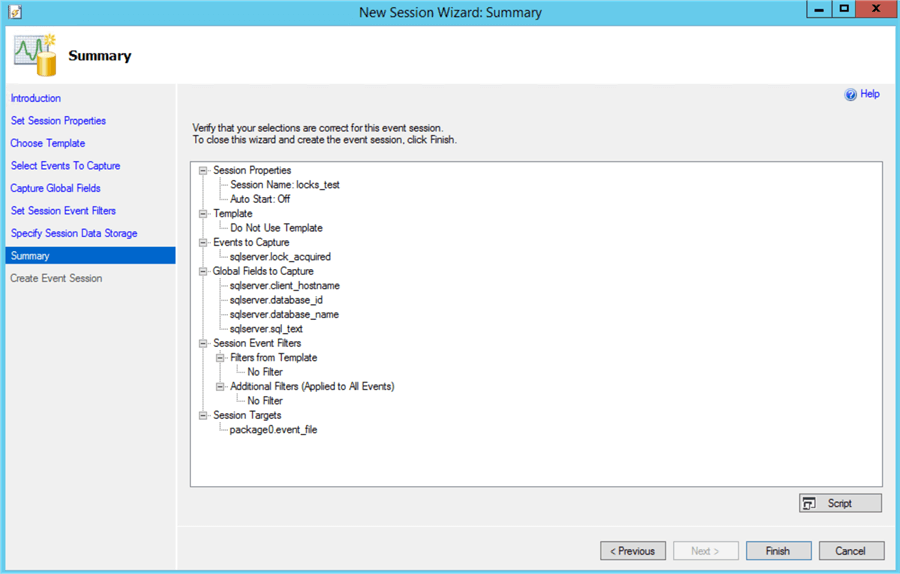
In this final screen, you can review everything you have selected for your session before making it run.
When you click "Finish" you will see a "Success" message. In here, you can choose to start the session right away or you can do it later manually.
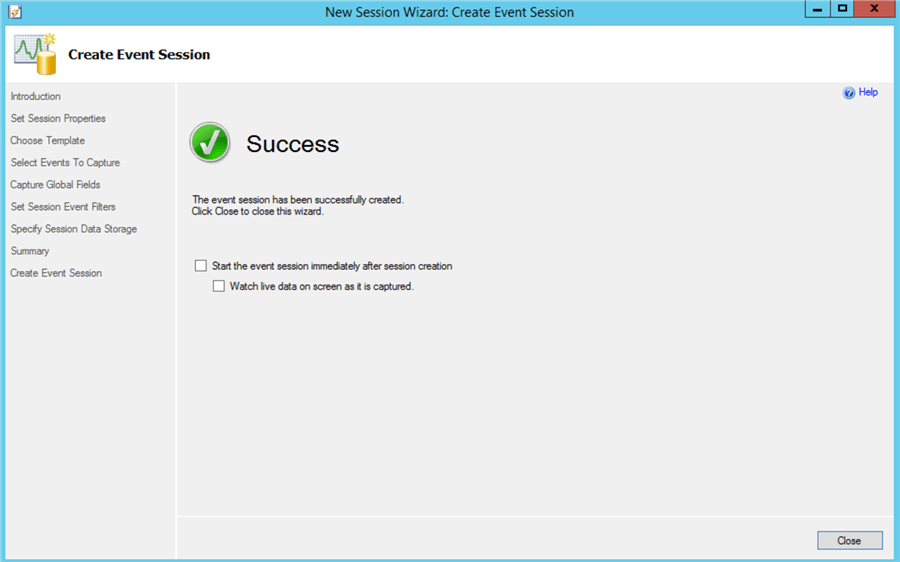
Viewing the Collected Data from Extended Events
Now that you have left the Extended Events session running, it is time to see the data it collects.
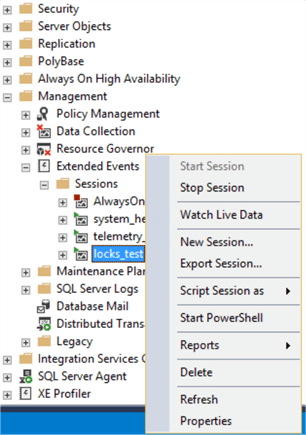
In SSMS, expand up the "Extended Events" and right click your session and choose "Watch Live Data".
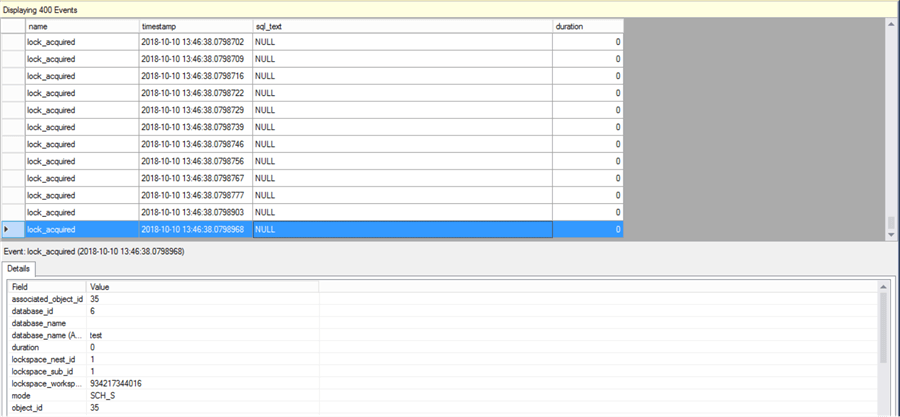
Here you will see something like this. You can customize this view with the information you want to include from the fields in the bottom section of the screen. All you have to do is right click the field you want to add and then you select "Show Column in Table". In this particular example, I have included just the "sql_text" and the "duration" of the lock.
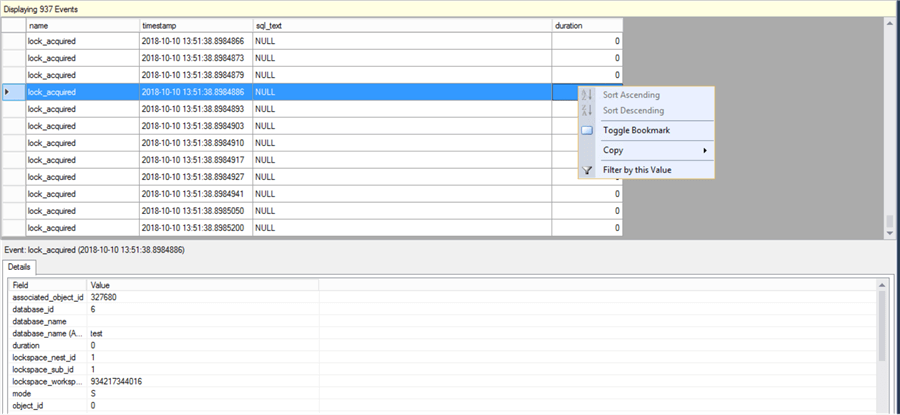
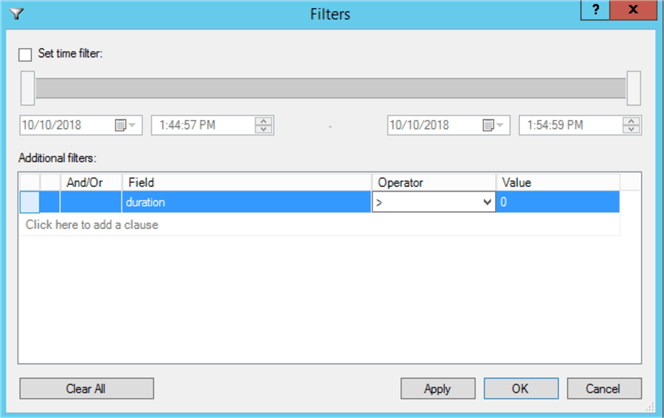
At this point, you might be aware that locking is a very common thing within relational database management systems, so it is nothing extraordinary that we see all those "lock_aquired" messages captured right off the bat. Here’s where the "duration" field will become very handy. All you have to do at this point, is create a filter to display those locks that are related directly to blocking in your system, so you can start your troubleshooting course of action! To do this, you right-click in the column you want to filter and choose "Filter by this Value".
The filter we want to apply is for all those locks with duration > 0, and then hit apply.
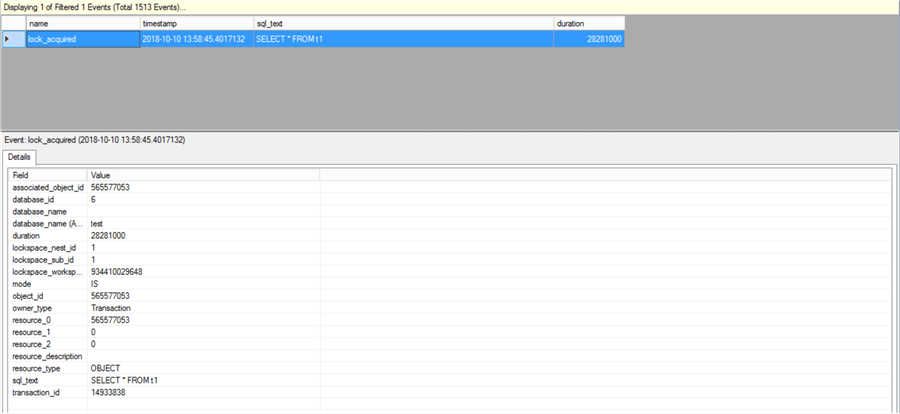
After applying the filter, you will be able to see all the events that we are really interested at looking into and it will look something similar to this. This is just an event of a lock example I forced, for demonstration purposes.
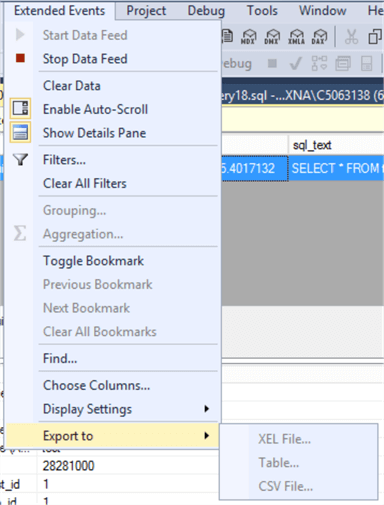
If you want to export the result set to a file, you can do so by selecting "Export to" from the menus.
Creating Extended Event Session using T-SQL
As you saw above there are several steps to create the extended event session. It is definitely a lot easier to use the GUI to generate the scripts that having to write the script. But I wanted to show you how simple the query looks after going through all of the steps in the GUI.
The code below is the exact same session described in all the steps above:
CREATE EVENT SESSION [locks_test] ON SERVER
ADD EVENT sqlserver.lock_acquired(
    ACTION(sqlserver.database_name,sqlserver.sql_text)
    WHERE ([sqlserver].[database_name]=N'test'))
ADD TARGET package0.event_file(SET filename=N'locks_test')
WITH (MAX_MEMORY=4096 KB,EVENT_RETENTION_MODE=ALLOW_SINGLE_EVENT_LOSS,MAX_DISPATCH_LATENCY=30 SECONDS,MAX_EVENT_SIZE=0 KB,MEMORY_PARTITION_MODE=NONE,TRACK_CAUSALITY=OFF,STARTUP_STATE=OFF)
GO
I hope you found this information very useful!
Next Steps
- This tip was focused on a single event class (lock_aquired), but there are many more classes that you will probably find helpful as well.
- You will want to invest some time in discovering all the available classes and their purpose, and hopefully this tip helps you to cover the creation/interaction part for the extended events sessions.
- You can find very detailed information for more extended events classes at Microsoft’s website.
- You can find a ton of blocking and locking information at MSSQLTips.com, if you want to dive deeper into this particular area.
About the author
 Alejandro Cobar is an MCP, SQL Server DBA and Developer with 10+ years of experience working in a variety of environments.
This author pledges the content of this article is based on professional experience and not AI generated.
View all my tips
Article Last Updated: 2018-10-31


