By: Brady Upton | Updated: 2012-10-01 | Comments (16) | Related: > SharePoint
Problem
I wrote a query and I would like to display the results within a Sharepoint 2007 list. I know there are a few different ways to accomplish this, but I'd like to use a SSIS package so I can automate the data updates. Is this possible without creating a complex SSIS package?
Solution
In my opinion, the best (and easiest) way to accomplish this goal is using SSIS packages and a component from Codeplex called Sharepoint List Source and Destination. Ray Barley wrote a tip regarding this component a while back and he explained how to extract data from Sharepoint. I encourage everyone to check out his tip as it explains how to install the component and has some very good tips regarding the Sharepoint Source task. In this tip, we'll go over the Destination task in more detail.
Setup a Sharepoint List
For this tip, I'm just going to set up a quick custom list. This example is done in Sharepoint 2007, but Sharepoint 2010 should be close to the same.
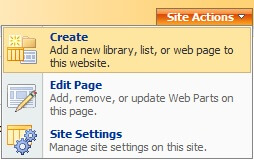
Go to Site Actions, Create:
Custom Lists, Custom List:

For this example, I'll create a list called SQL Versions:

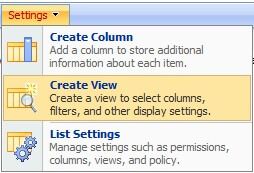
Once I have a list created, I need to create a view with custom columns that match my SQL query. For this example I need Server Name, Instance Name, and Build. To create a view click Settings, Create View:
Choose Standard View:

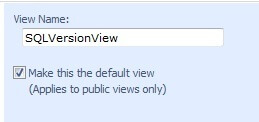
Name the View (for this example, I'll name it SQLVersionView and make it my default view):
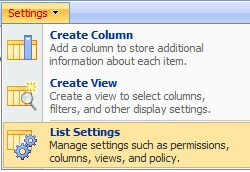
Next we'll need to create custom columns. Go to Settings, List Settings:
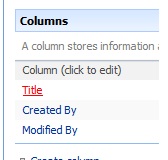
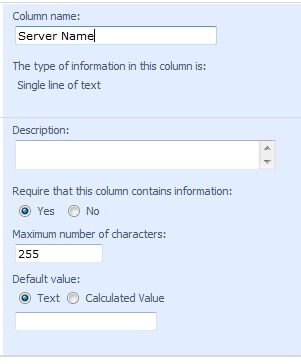
To create the first column click Title and rename it to Server Name:
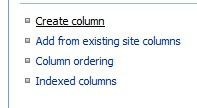
To create additional columns click create column:
Add Instance Name (single line of text):
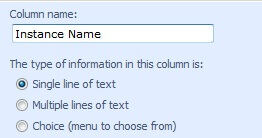
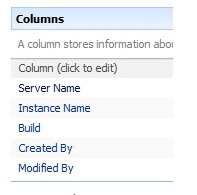
Repeat until all the columns are created:
Create SSIS Package
Now that the Sharepoint list is created we can move on to the SSIS package. Please read Ray Barley's tip to learn more about installing the Sharepoint Source List and Destination component.
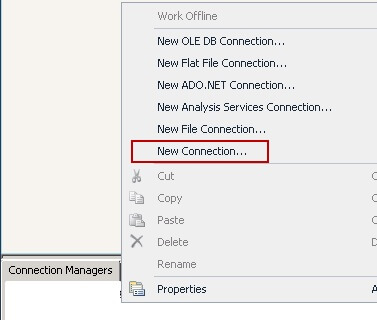
First we'll need to create a Sharepoint Connection Manager. Right click in Connection Manager and choose New Connection.
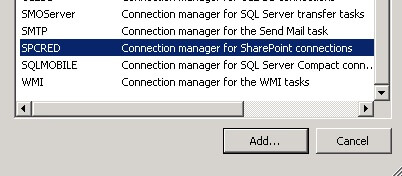
Scroll down and choose SPCRED and click Add:
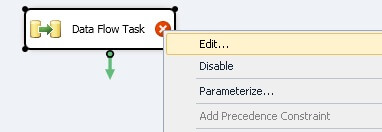
From the Control Flow we will add our Data Flow Task and right click to configure:
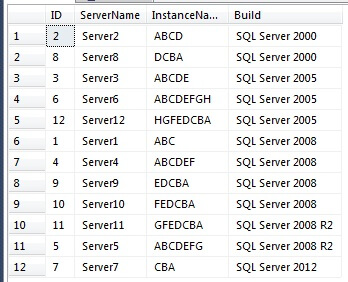
Add the DB source and Sharepoint List Destination tasks to the designer (For this example I'm using the following table for my DB source):
Configure DB Source:
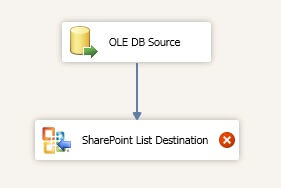
To configure the Sharepoint List Destination right click and edit. Choose the connection manager you created earlier:

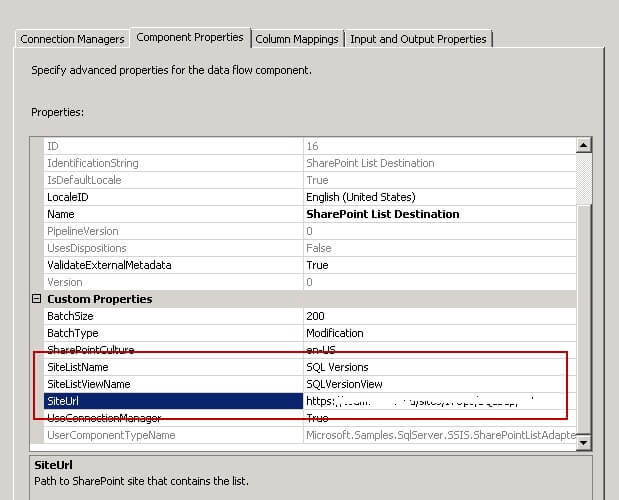
Click the Component Properties tab and change the SiteListName, SiteListViewName, and SiteURL name:
- SiteListName: The name of the SharePoint list, as seen on the SharePoint page.
- SiteListViewName: The name of the SharePoint list view from which you want to retrieve data. You can use a list view to pre-filter rows and eliminate the need to add dynamic CAML queries to your package. This does NOT affect columns, only data. If you do not specify a list view name, then the default list view is used. The default list view is the one that appears first in the View dropdown list, which may not show all of the items in the list. Leaving this option blank is the same as entering the default list view, which is typically All Items if the default has not been changed.
- SiteURL: The URL for the primary site on which the list is found. Do not include any other subfolders or list paths, or the location of an .asmx file.
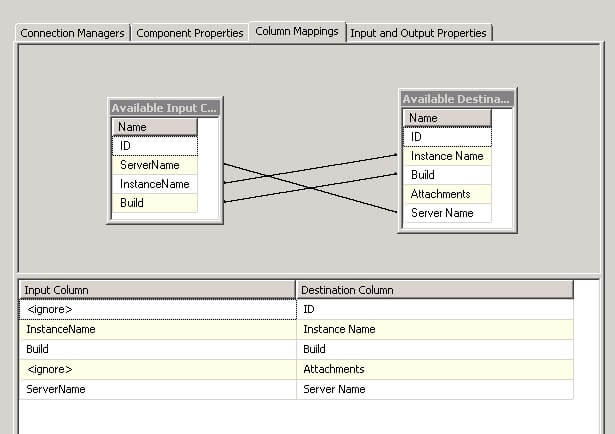
Click the Column Mappings tab and make sure all the columns are mapped correctly (delete mapping between ID's for this example):
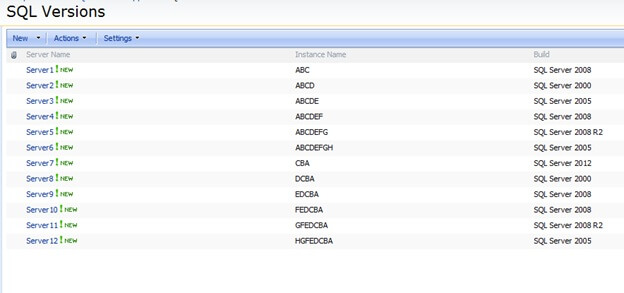
Run the package and if everything is setup correctly your Sharepoint list should have data in it:
Run the Package as a Job
To run this package as a daily job that will repopulate the Sharepoint list hourly, daily, weekly, etc. we'll need to create a Sharepoint Source and another Sharepoint Destination task. The Sharepoint Destination task will be similar to the first task we created above except we will be using the DeletionĚ batch type.
From the Control Flow we will add another Data Flow Task above the one we created above and add a precedence constraint.
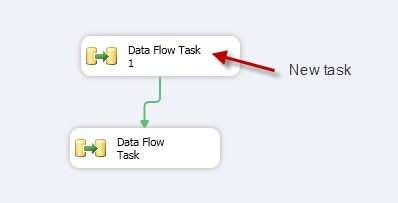
Right click the new Data Flow Task and choose Edit. In the data flow view, add the Sharepoint List Source and the Sharepoint List Destination:
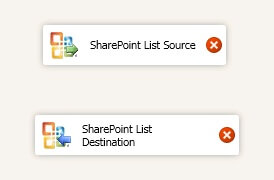
To configure the Sharepoint List Source, right click the task and choose edit. Choose the appropriate Connection Manager:

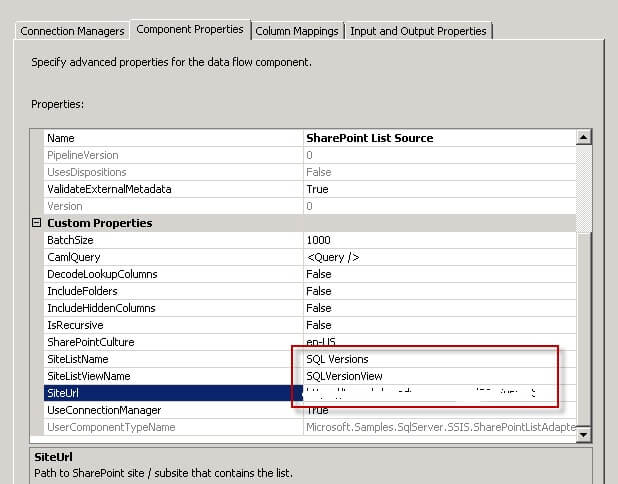
Click the Component Properties tab and change the SiteListName, SiteListViewName, and SiteURL name (these should be the same entries as the Sharepoint Source task we created earlier):
Once the Sharepoint List Source is configured, drag the precedence constraint/arrow down to the destination. Now, it's time to configure the destination. The Sharepoint List Destination will be exactly like the task we created in the first Data Flow task except we will change the Batch Type to Deletion:
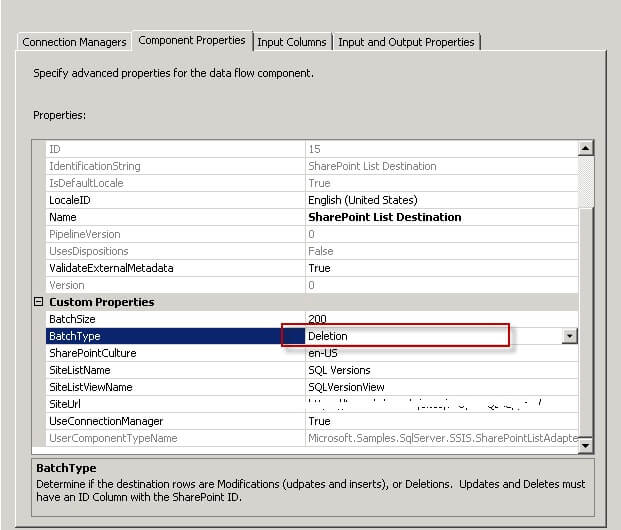
Now when you run the package it will basically delete all data from the Sharepoint list and repopulate it on a schedule that you can define within a SQL Agent job.
In the next tip, I'll show you how to create a KPI in Sharepoint based on this information.
Next Steps
- Take a look at Ray Barley's tip to see what else you can do with the Sharepoint List Source and Destination component
- Download the component from Codeplex here
- Check out more of MSSQLTips Sharepoint tips here
About the author
 Brady Upton is a Database Administrator and SharePoint superstar in Nashville, TN.
This author pledges the content of this article is based on professional experience and not AI generated.
View all my tips
Article Last Updated: 2012-10-01


