By: Scott Murray | Comments (1) | Related: > Power BI
Problem
What Power BI features are available to notify a report consumer of data changes?
Solution
Power BI’s offers several communication features to help keep report consumers informed as their data changes. In this previous tip, Power BI Online Alerts, we discussed using the alert functionality for notifications. However, Power BI offers several other methods for communicating with report consumers. For this tip, we will discuss two alternatives that are available. One is using a new email notification functionality that is available in Power BI; this neat feature allows you actually to subscribe to a notification that will trigger an email every time the underlying data changes. The other functionality that we will review in this tip centers around a new Microsoft product, Flow, which actually gives you the ability to send a trigger to various applications.
To get started with Power BI and Power BI Desktop, you need to do a few things to get everything setup for access. First, you need to go to the Power BI web site and sign up to access Power BI. Note that you must use a work or school address to sign up for Power BI. Next, you need to download the Power BI Desktop (PBID) tool. Once you have your account setup and your Power BI Desktop application installed, you are ready to start working with Power BI!
Power BI Emails
We will first start with the subscription email functionality. You will note that the email functionality is only available on Power BI reports, is only available after you have published the report to Power BI Online, and finally is only available as a Power BI Pro feature. Furthermore, most email subscriptions will be sent once per day, although if you have a direct query or live connection data source, it could be more often (as the data refreshes).
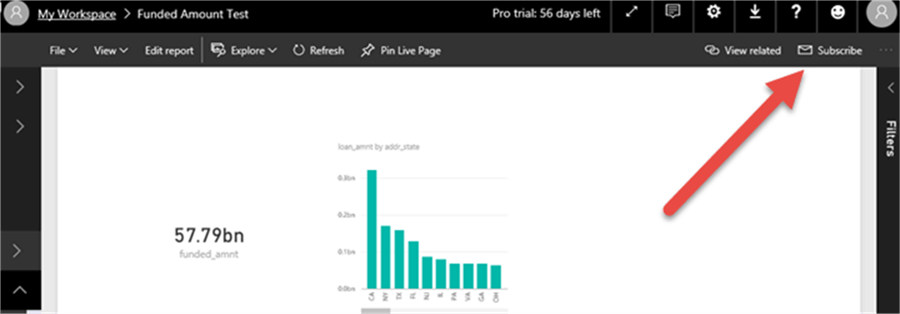
The first step is to actually go to the Power BI online and open up an existing report. Of course, if you need to, you may have to create a report and publish it to the Power BI website. Once the report has been published to the Power BI site, we can now subscribed to the report. As shown below, you will click on the Subscribe button.
Next you will notice the on / off switch is set to on for the subscription. Also notice that the subscription is for you only; there is no ability to enter email addresses for others (at least for now, but subscribing others seems to be on the Power BI Development group’s radar). Thus, the email will go to the email address on your Power BI account. To save the subscription, simply click save and close. You could delete the subscription by clicking on the trash can button if needed.
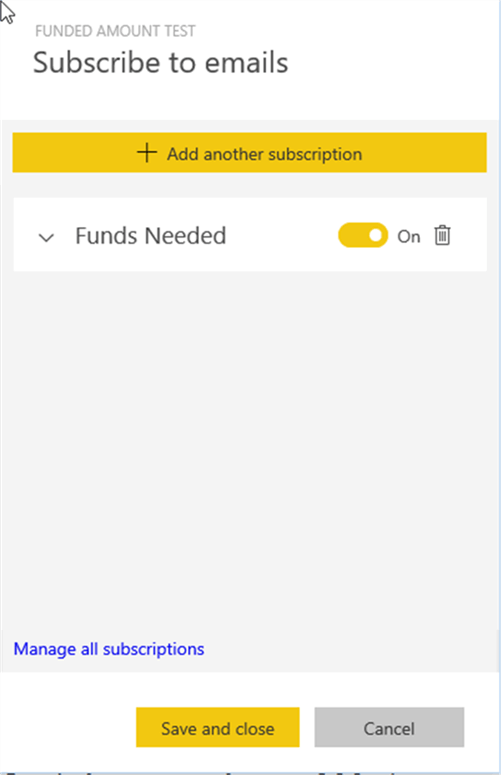
Near the bottom of the subscription screen, there is a link, Manage all subscriptions that will allow you to adjust all your subscriptions for any report.

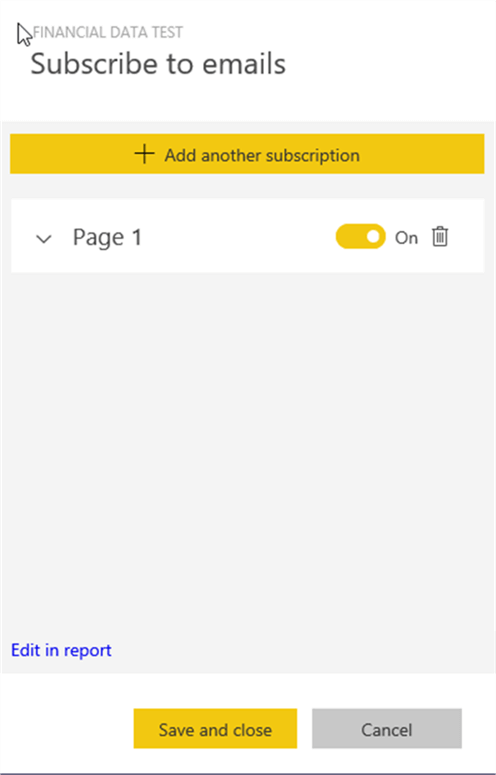
Clicking on the Manage all subscriptions button brings you to the subscription work page. From the screen you can, click on the pencil button under actions; the edit screen looks almost the same as the subscribe screen.
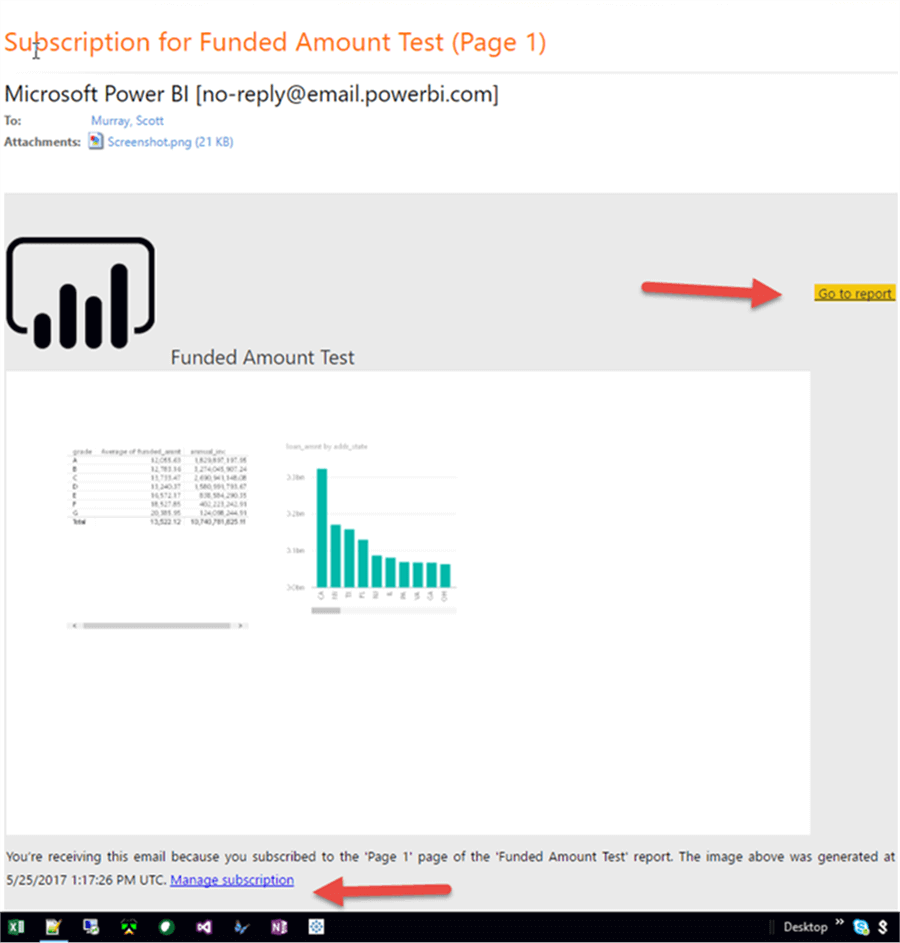
Finally, a copy of the subscription email is shown below. You can navigate back to the report using the included links if needed. Again, notification will generally only be sent once every 24 hours and only if the data changes; however, you can force a refresh of the data and that will allow you to get a new notification.
Power BI and Flow
Another way to setup a notification is to use a new product from Microsoft called Flow. Flow is a SAAS application that works sort of like several other workflow applications and is available for both personal and business use. Flow works somewhat similar to other alerts and notification workflows; a Flow basically has two components: 1) one is a trigger 2) the other is a set of actions. Luckily, the trigger can be based on an alert setup in Power BI data (and the alert is based on changing data. Note you will need to setup the alert beforehand (see earlier link).
For the flow actions, just over 200 different potential actions are available to be implemented within a Flow. These actions include such things as sending an email, creating a file in Google Drive, creating a file in OneDrive, and adding an item to your calendar. Furthermore, a single trigger can implement multiple actions, so you could actually do all the above actions after one trigger.
Your first step to start a Flow is to sign up at http://flow.microsoft.com. You will want to use the same email address you used to sign up for Power BI.

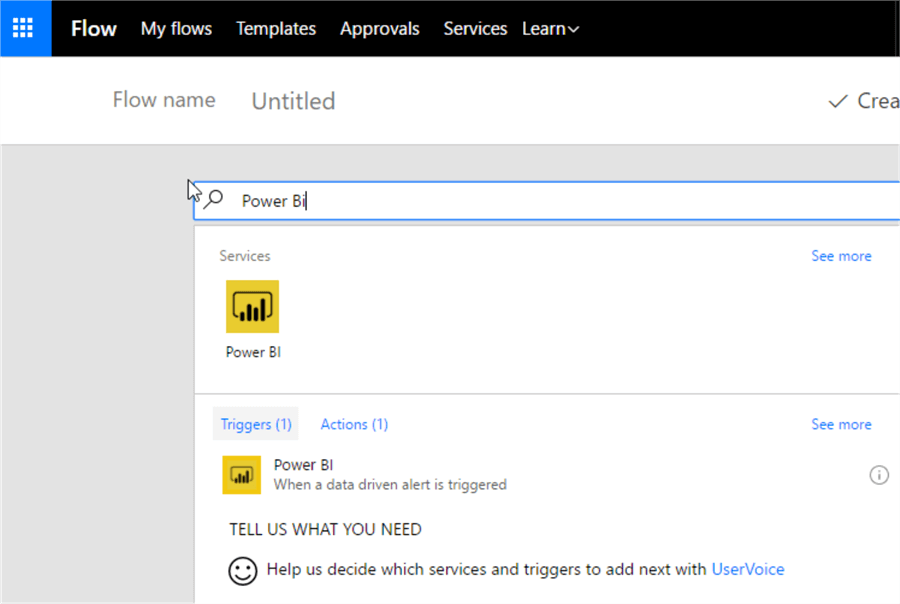
Clicking on the Create from blank button, allows us to select the service to use as the trigger. You will notice I used the search functionality to find Power BI. Note you may get a message to connect Power BI to Flow.
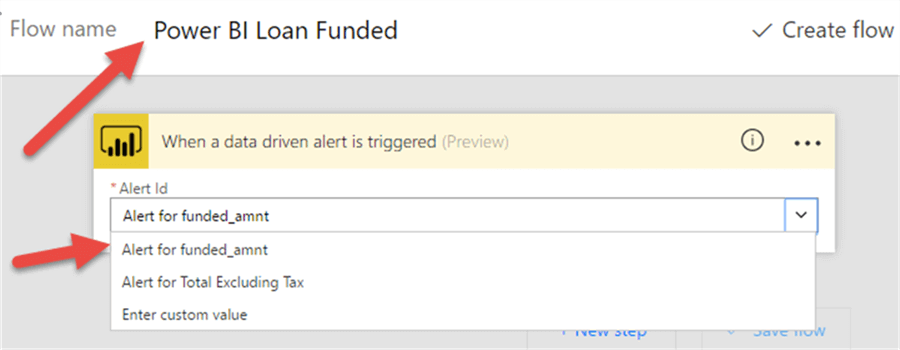
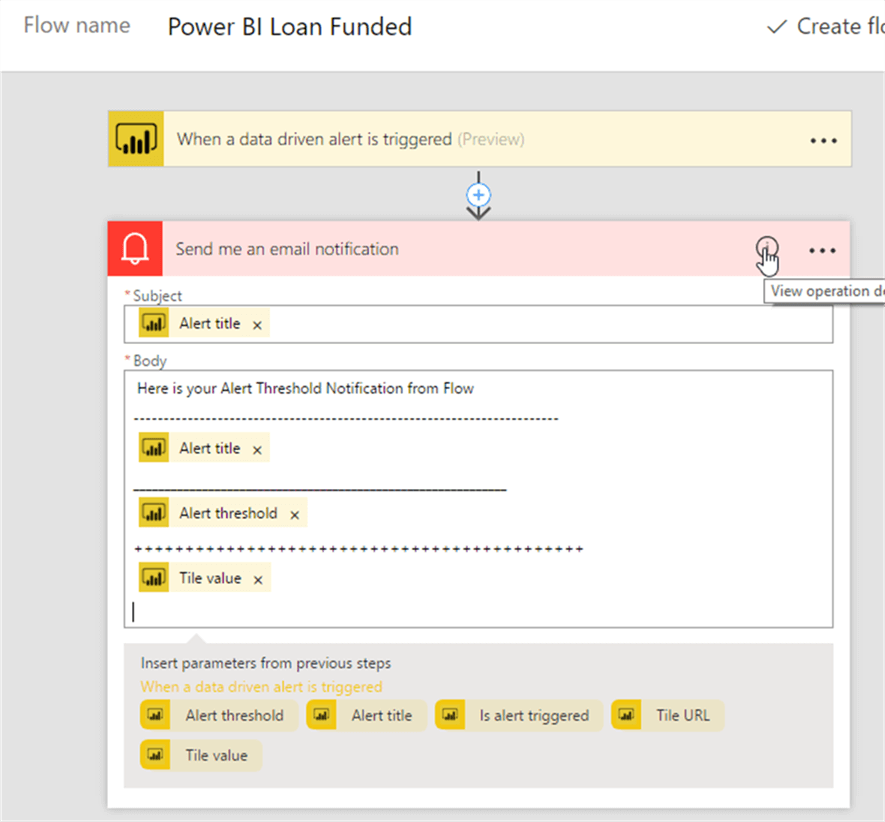
Next, click on the Power BI trigger button; we are now offered the opportunity to select the Alert we would like to use as a trigger for the actions. At this point, you also will want to change the Flow name by clicking on the area just to the right of Flow name.
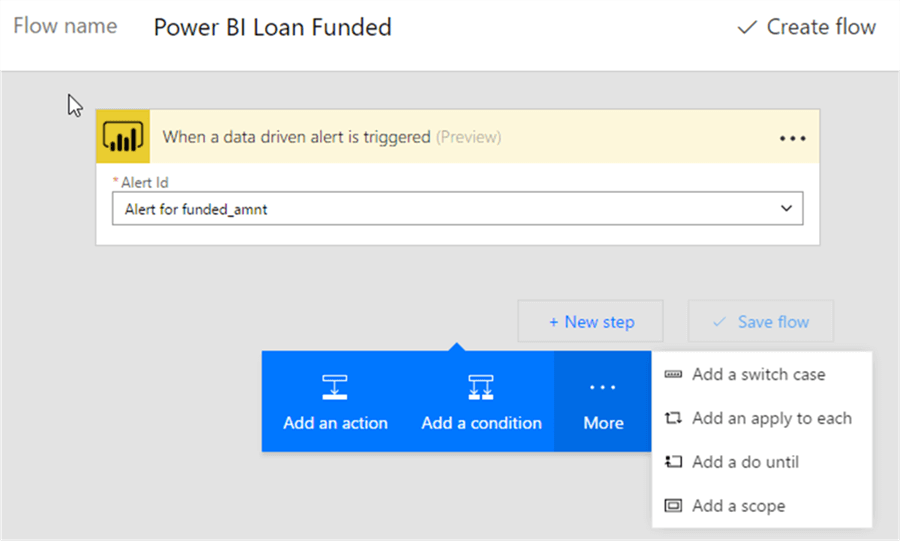
Now, we are ready to add some actions. You will click New step option and then click on Add an Action. As you can see in the below illustration, you are able to add several steps such as conditions, cases, loops, and scope. We will stick to adding an action for this tip.
For our example, I am going to use the Notification Action.
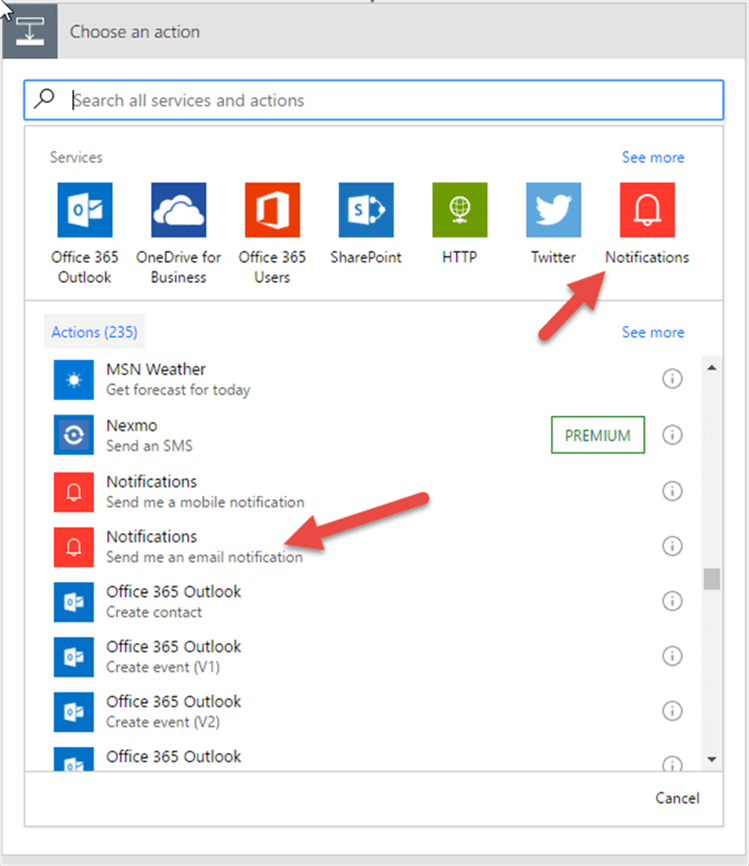
This action provides the ability to send an email notification when the threshold for the alert is met. As illustrated below, we can add both text and alert properties, such as Alert Title and Alert Threshold to the subject and body section of the notification email.
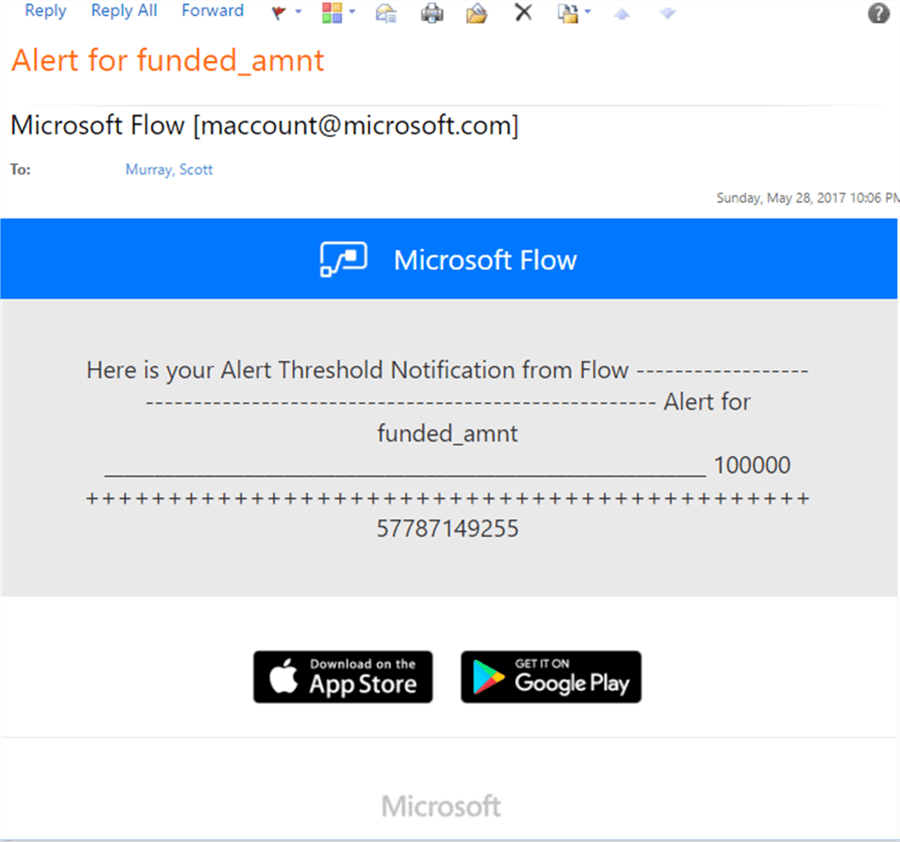
When this alert is triggered, the following email is sent to me:
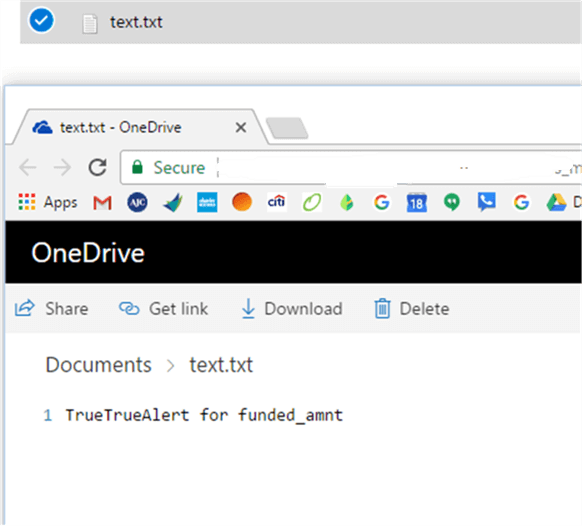
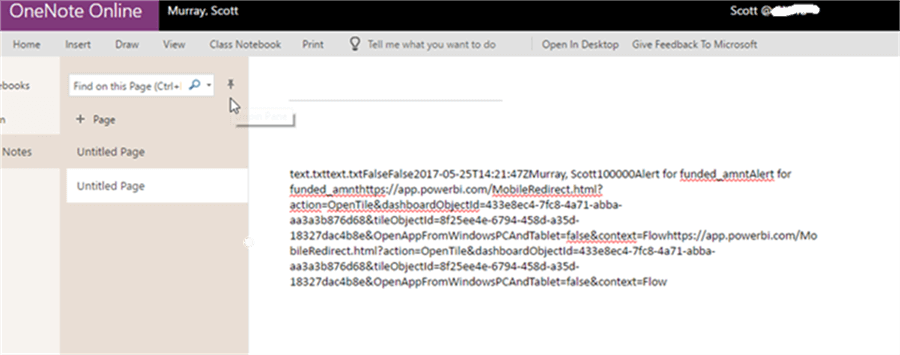
You can expand upon the actions, as displayed in the below illustration, and add actions for creating a file on OneDrive, adding a note OneNote, and sending an email from Outlook.
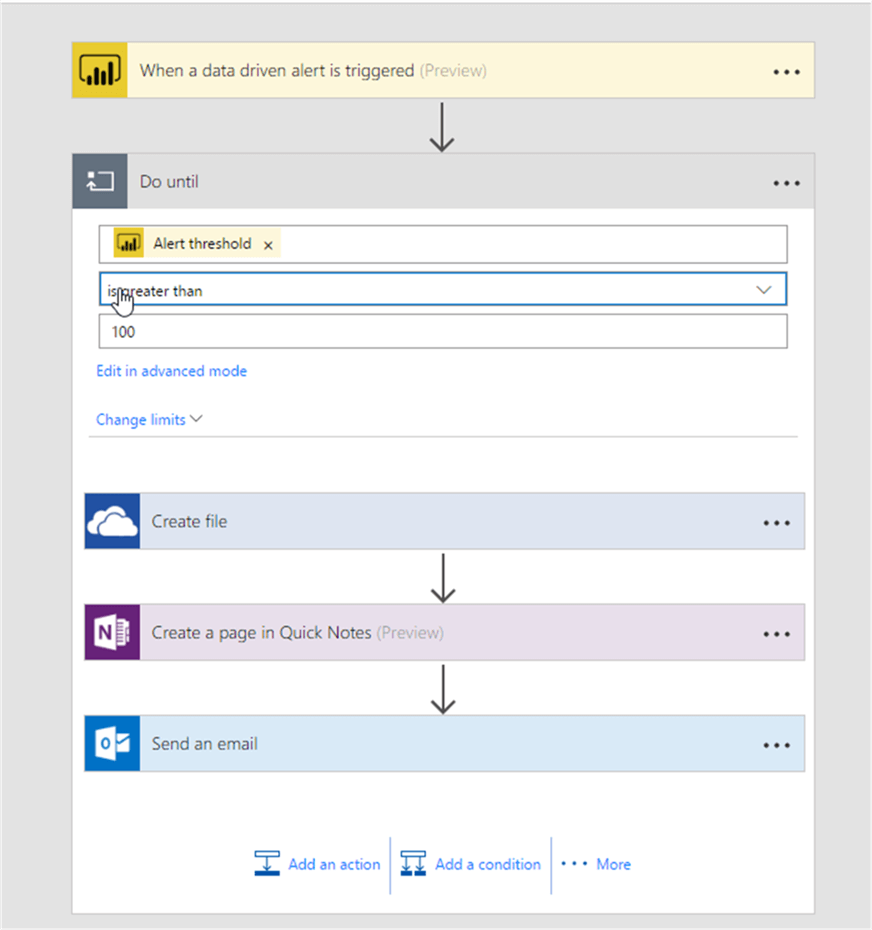
As shown below, the Flow created a text file on OneDrive, added a note to OneNote (the note would need some cleanup), and finally sent an email from Outlook.
Again, these actions will only occur when the alert trigger fires.
Within this tip, we show you two additional notification methodologies that you can use with in Power BI. This functionality includes using the new email subscription functionality and additionally using the new Flow workflow application. The Flow application is based on Alerts setup in Power BI, but offers tremendous workflow functionality.
Next Steps
Learn more about Power BI in this 3 hour training course.


About the author
 Scott Murray has a passion for crafting BI Solutions with SharePoint, SSAS, OLAP and SSRS.
This author pledges the content of this article is based on professional experience and not AI generated.
View all my tips