By: John Sterrett | Updated: 2010-07-29 | Comments (6) | Related: > Upgrades and Migrations
Problem
You just had a great weekend. You go grab your coffee and before you take a sip a manager grabs you and says, "we need your help." We need to migrate a very large database to our new data center. We need to keep the data in sync and have a short period of downtime when we cutover.
Solution
To satisfy the requirements of making the data available and keeping the data in sync and have a short cutover period you decide to use log shipping.
To summarize our plan we will do a full backup and send it to the new hosting location. Next we will create a differential backup and a transaction log backup and send them over the network to the new hosting location. Once this is done we will enable log shipping. After all of the transaction logs have been applied we can swap the primary and secondary servers.
Step 1
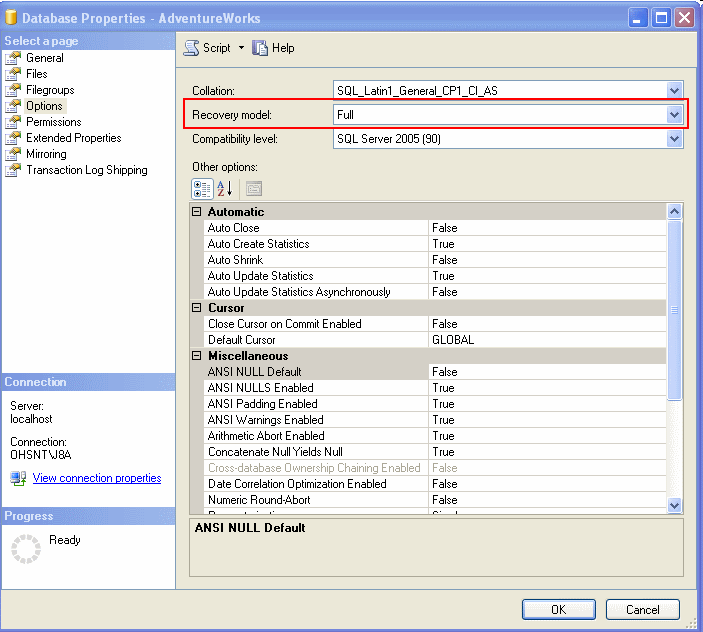
Make sure your database is in the Full or Bulk-Logged recovery model. You cannot enable transaction log backups or transaction log shipping in Simple recovery model.
Step 2
Alter your backup plan, so full backups will not occur during the time needed to mail your full backup and restore it on your destination server in the new data center. The reason for this is so that we can create a differential backup to apply any changes that have occurred since the full backup, prior to enabling log shipping.
I would recommend sending the backup overnight to get it there as soon as possible. If the file is not extremely large you could probably FTP a compressed backup file.
Continue to do differential and transactional log backups as normally scheduled for your backup plan (a/k/a recovery plan).
Step 3
Create a full backup or use the latest full backup that you have. If you changed the recovery model in Step 1 you should create a new full backup. Copy the backup file to a USB drive and mail the drive to your data center. In my case I sent this overnight across the US and was able to get access to the backup file within three days.
Step 4
Restore the backup on the secondary server using NO RECOVERY, in order to restore the differential and transaction log backups.
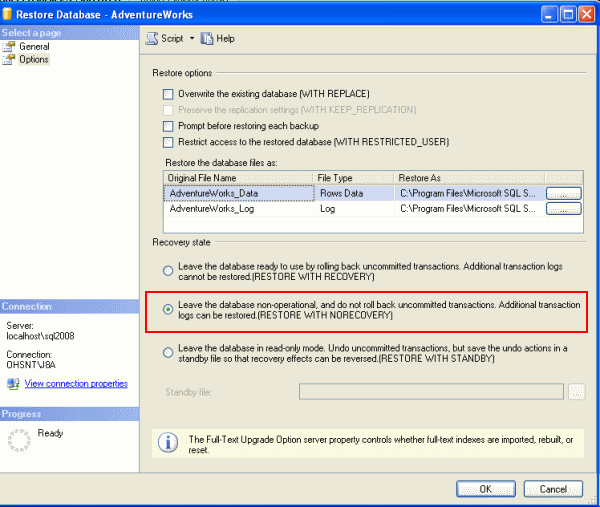
If you restored the database in "No Recovery" mode you will notice that the database says "Recovering..." as shown below.

Step 5
Take a differential backup and copy it to the secondary (destination) server over the network. This should be much smaller than the full backup. The file size will really depend on the amount of transactions that occurred since the full backup was created.
Step 6
Restore the differential backup on the secondary server using NO RECOVERY. No recovery must be selected to restore a transaction log backup and to kickoff log shipping.
Step 7
Disable transaction log backups from your backup plan on the primary (source) server. We are about to enable Log shipping and this will be used to create transaction log backups on the primary server and they will be sent and restored on the secondary server.
Step 7a
If any transaction log backups were created after the differential was created in Step 5 these will need to be copied and restored as well using the NO RECOVERY option.
Step 8
Create a new transaction log backup on the primary server and copy it to the secondary (destination) server over the network. This is done just to keep the two databases in sync, so enabling Log Shipping goes quicker.
Step 9
Restore the transaction log backup on the secondary server with NO RECOVERY. Remember the secondary server must be in NO RECOVERY mode to initialize log shipping.
Step 10
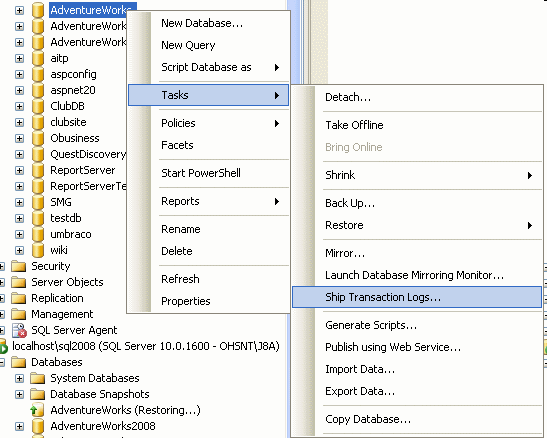
On the principal server right click on the database and select tasks and then "Ship Transaction Logs...". This will load the menu to start Transaction Log Shipping.
Step 11
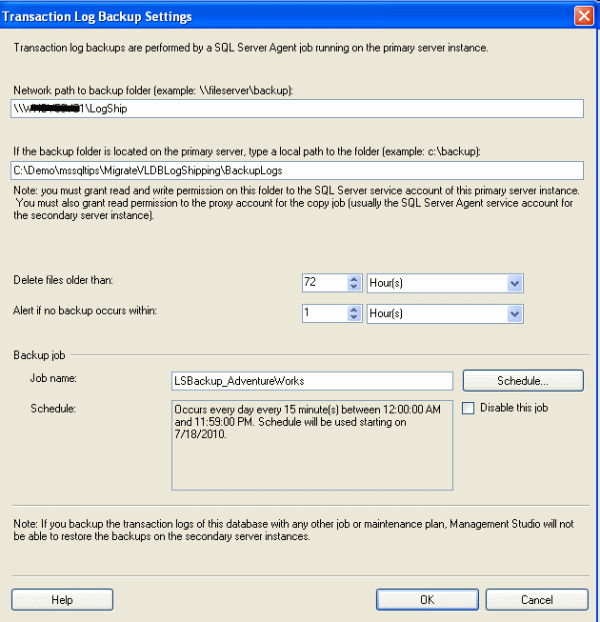
Once you click on "Ship Transaction Logs..." you will notice the next window. Make sure you click on the backup settings button. This is where you will configure the log shipping settings as shown below.
Step 12
On the next window we will configure how often transaction logs will be backed up and the path used to store the transaction log backups. Once this is done we will return to the transaction log shipping configuration window
Step 13
We will now click on the add button to add a secondary server. This will be your destination (secondary) server in the data center.
Step 14
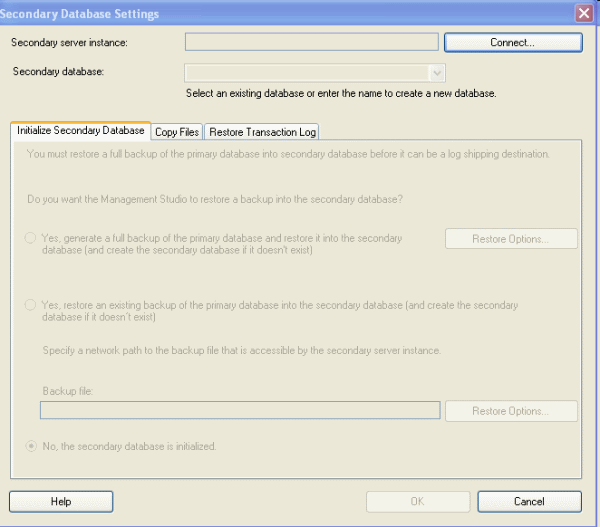
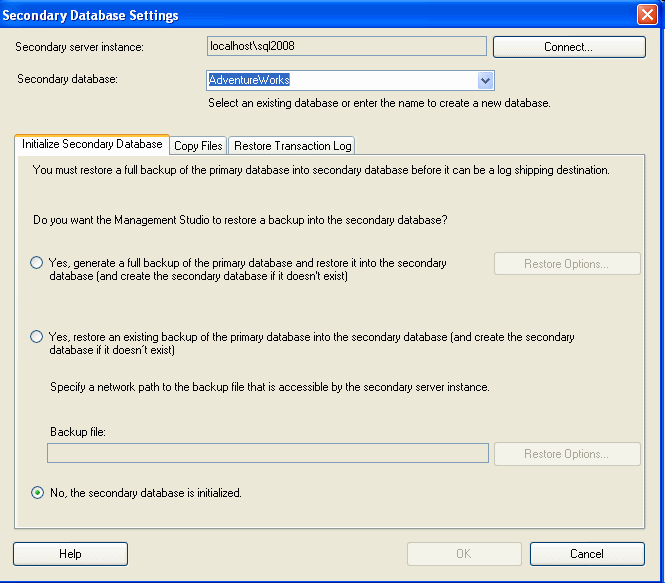
Click on the "Connect..." button and connect to the secondary database server at the data center and select or enter the database name. In my case I am using "AdventureWorks". We want to select "No, the secondary database is initialized" radio button, since we have already shipped and restored the full backup. Once this is done select the "Copy Files" tab.
Step 15
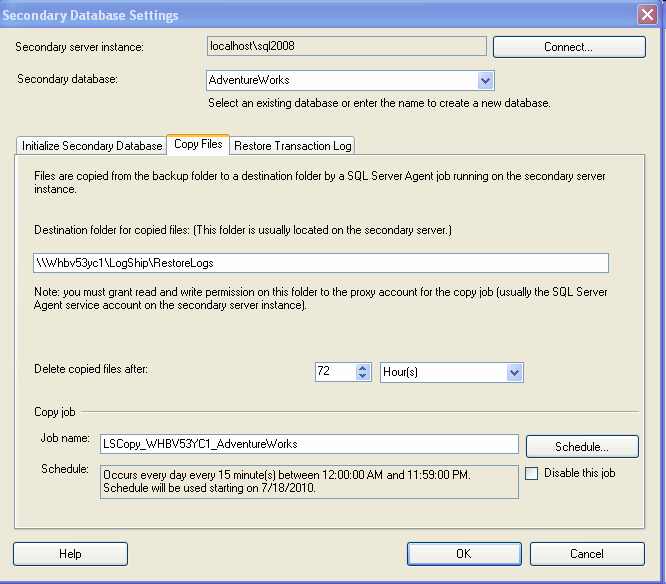
On the "Copy Files" tab specify the network share path you will use on the secondary server. Transaction log backups on the primary server will be copied to and restored from this location. You can also modify the job that will be created to copy the files and also modify how long backups will be retained after they are copied.
Step 16
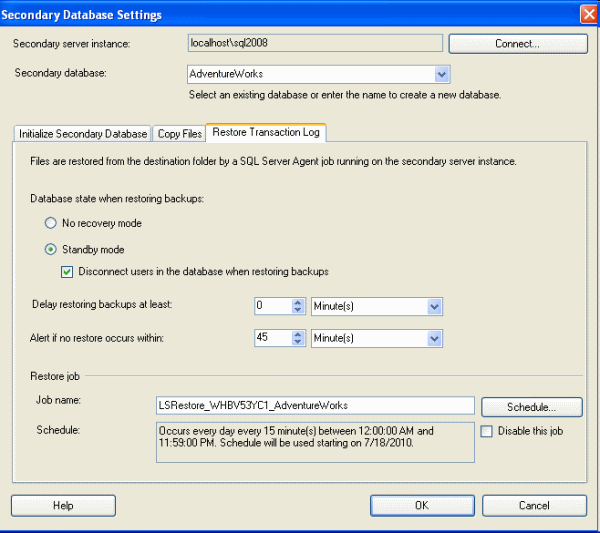
On the "Restore Transaction Log" tab this is where you will need to specify the state of the secondary server. You will have three options including No Recovery mode, Standby mode and Standby mode disconnect connections when restoring. If you have a requirement to allow read access for testing before the final cutover you will have to choose one of the two Standby options. Note: standby only works when the primary and secondary servers are using the same version of SQL Server.
Step 17
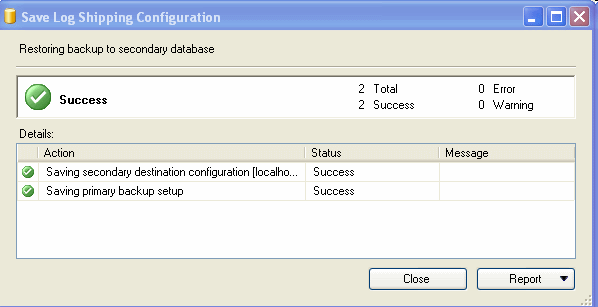
We have now completed the setup for Log Shipping. Click on the OK button on the screen shown in step 12.Note: standby only works when the primary and secondary servers are using the same version of SQL Server.
Step 18
Now we will wait for log shipping to sync all transactions from the primary database to the secondary (recovering) database. This will be done with the following SQL Server Agent jobs shown below. (Note: the black lines are just removing personal data)

The two jobs above are created on the primary instance. The backup job will backup the transaction log to the file share specified in step 12.

The three jobs above are created on the secondary instance. The copy job copies the backups created on the file and moves them and restores them to the file share in step 15.
Step 19
Once the jobs have executed for a while the secondary database will be in sync with the primary database. At this point it would be a good idea to acquiesce the primary server so no additional transactions are created, do one last transaction log shipment and then make the swap.
You can now terminate log shipping and restore the secondary database.
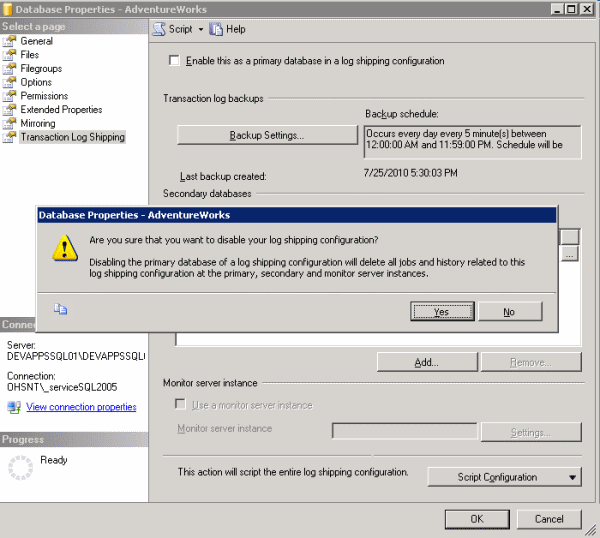
Right click on the primary database and click on properties. At the bottom of the list on the left you will see Transaction Log Shipping. Select it and then uncheck the checkbox with the label "Enable this a primary database in a log shipping configuration." You will see the window shown below. Click on the yes and the ok buttons for this window and the properties window and this will remove log shipping.
Step 20
Now its time to make the swap. Take the primary database offline. This can be done by using this command.
ALTER DATABASE AdventureWorks SET OFFLINE
Step 21
Recover the secondary database to complete the cutover. Issue the following script to bring the database online.
RESTORE DATABASE AdventureWorks WITH RECOVERY
Step 22
Now point all new connections to the new database server and your migration is now complete
Next Steps
- Review these related tips:
About the author
 John Sterrett is a DBA and Software Developer with expertise in data modeling, database design, administration and development.
This author pledges the content of this article is based on professional experience and not AI generated.
View all my tips
Article Last Updated: 2010-07-29


